 Yan Zhou
What’s Inside (Skip to the Good Stuff)
- Why Tianyi Pavilion Is a Photographer’s Dream
- The 6 Best Photography Spots Inside Tianyi Pavilion Museum
- How to Reach Tianyi Pavilion Museum Without Getting Lost
- What You Need to Know About Tickets, Hours, and Entry Rules
- When Is the Best Time for Photography at Tianyi Pavilion?
- How to Nail Your Camera Settings and Avoid Classic Mistakes
- FAQ: Frequent Questions About Shooting at Tianyi Pavilion
I’ll never forget my first time at Tianyi Pavilion Museum — I walked in with a fully charged camera and walked out with a memory card full of dark, boring shots. What went wrong? I fell for every classic photography mistake. No, it wasn’t the gear. It was the lack of insider knowledge that Google won’t give you.
Let me fix that. After many visits (and dozens of guided tours), I’ve mapped out exactly where to stand, when to click, and what to skip. This isn’t a fluffy guide — it’s a tactical walkthrough for anyone who wants to photograph Tianyi Pavilion like a pro.
Here’s the short version: Go at 8:15 AM, head straight to the East Garden, and don’t waste time on the main hall until the light hits it at 10:30. Keep reading — I’ll explain why.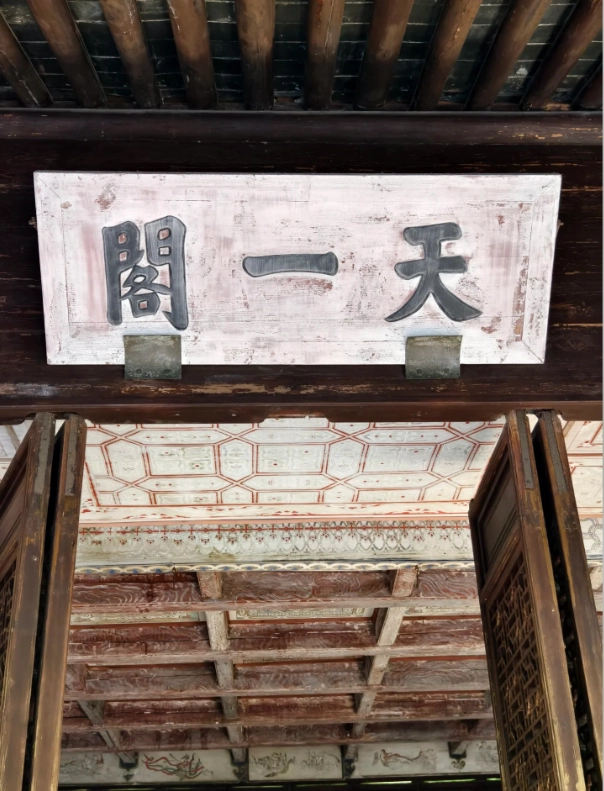
Why Tianyi Pavilion Is a Photographer’s Dream
Tianyi Pavilion Museum isn’t just a library — it’s a living canvas of Ming Dynasty architecture, lotus ponds, rockeries, and winding corridors. Built in 1566, it’s the oldest existing private library in China, and its gardens are so well-composed that every angle feels like a painting.
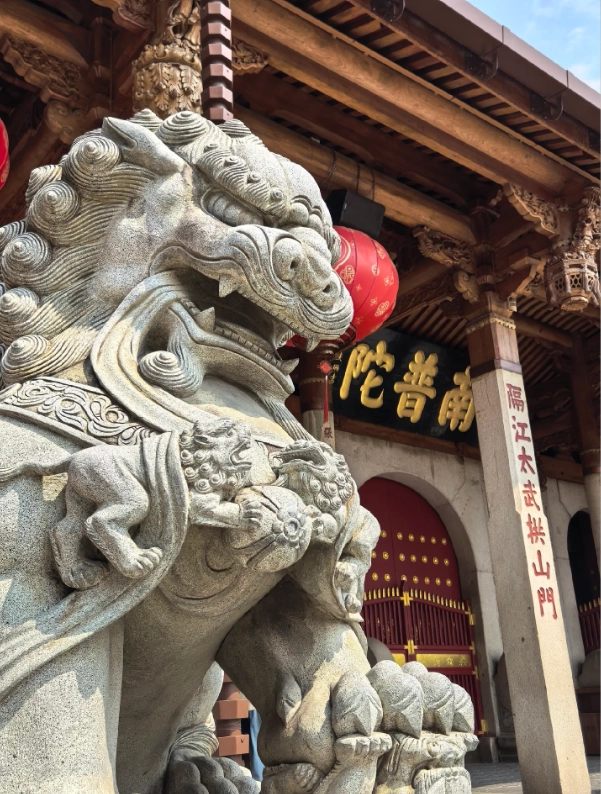
But there’s a catch. The site is huge — 26,000 square meters — and the interesting details are scattered between courtyards. Without a plan, you’ll wander aimlessly and miss the golden shots. That’s exactly what happened to my first client group. They spent 40 minutes trying to photograph the central stone lion from a confused angle. I had to pull out a map and literally trace the route with a finger.
“I always tell my clients: Tianyi Pavilion is not a place to point-shoot-and-move. It rewards those who wait for the right light and the right elevation.”
The architecture itself is a photographer’s dream: curved eaves, ancient wooden carvings, mossy brick paths, and reflections on the ponds. Unlike many other Chinese gardens, Tianyi Pavilion has a quieter, more intimate feel. You won’t get pushed by tour group swarms — at least if you follow my timing below.
The 6 Best Photography Spots Inside Tianyi Pavilion Museum
Let’s break the museum into key zones. I’m numbering these by my personal rating — not by what the signboards say. Some are obvious, some are hidden. All are usable.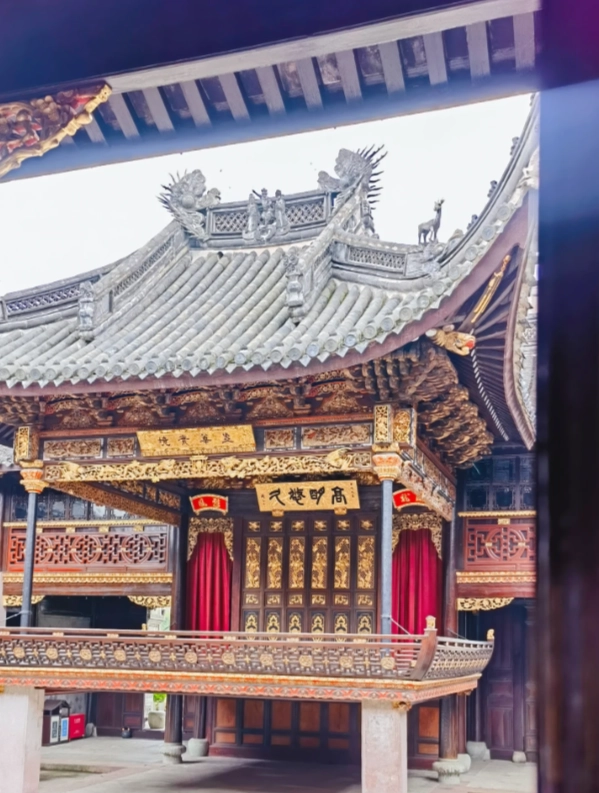
1. The Reflection Pond (Dongming Reflection)
This is the postcard spot. The circular half-moon pool in front of the main library pavilion creates a perfect mirror reflection on calm mornings. The optimal time is at 8:30 AM — before the breeze picks up and ripples the water. Position yourself on the north side of the pool, lower your camera to knee height, and use a wide 16-35mm lens to include the entire pavilion.
Insider detail: The stone carving on the pond’s edge is often overlooked. It’s a 500-year-old dragon motif that only appears when the sunlight hits it at a low angle. Don’t miss it.
2. The Stacked Stones in the East Garden
Most tourists enter the East Garden and stop at the first pavilion. Walk deeper, past the bronze incense burner, and you’ll find a group of yellow-and-gray Taihu rockeries. This is where you can shoot layered portraits with a blurred foreground — but you must use a 70-200mm lens. The rocks form natural frames that add depth to any composition.
I’ve used this spot for dozens of engagement shoots. The secret? Climb to the small stone bridge at the far end — a 2-minute scramble — and shoot down with a 50mm lens. That angle gives you both the rocks and the bamboo grove.
3. The Red Lantern Corridor (To the South of Zunjing Pavilion)
This corridor is technically a functional hallway, but during mid-morning (9:30 AM to 10:30 AM), sunlight filters through the lattice windows and creates dramatic light streaks across the red pillars. It’s not on any map, so expect solitude. I recommend using a high-contrast black-and-white mode here — the shadows are too gorgeous to be destroyed by color.
A tripod is not allowed inside this covered walkway (staff will stop you), so crank the ISO to 800 and lean against the wall to stabilize.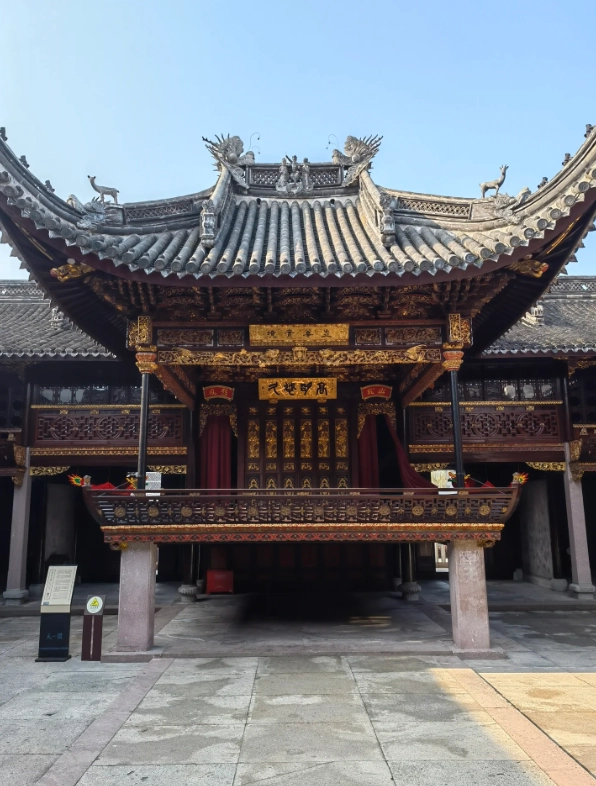
4. The Hundred-Pavilion Garden (Fan’s Old Study Room)
Wait — the name is misleading. It’s a small courtyard, not a hundred pavilions. But the corner with the plum tree and the two-story wooden study is a photo gem. The best time is late afternoon (16:30 PM) in winter/spring when the sun sinks low and backlights the plum branches. I’ve shot here in autumn too — the red leaves are fantastic.
Important: The study room itself is usually roped off. You can’t go inside, but you can frame the door as a “natural frame” and shoot through it to capture the stone table inside.
5. The Bamboo Grove Path
Located between the North Garden and the Eastern Exit, this narrow dirt path is lined with tall bamboo. On windy days, the rustling leaves nearly ruin your audio but save you as a photographer. Use a slow shutter speed (1/15s) while stabilizing your camera on a fence post to create motion blur in the leaves. The juxtaposition of the straight bamboo trunks and the horizontal shadows is hypnotic.
I once waited here for 20 minutes until a family in colorful clothing walked through. The contrast with the green bamboo was worth it.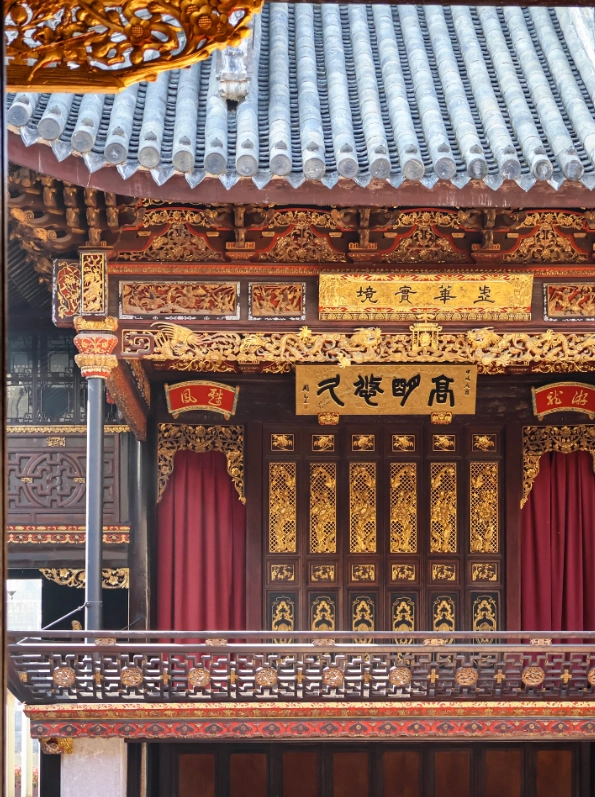
6. The Southern Rockery Caves
Deep in the southeast corner, there’s a man-made cave system connecting multiple garden levels. It’s dark, humid, and often skipped. But for moody photography, this is gold. Bring a fast prime lens (35mm f/1.4) and shoot from the cave opening toward the small lake. You’ll capture a “keyhole” composition with the pavilion on the other side. The exposure difference is extreme, so use exposure bracketing or HDR.
Be careful — the steps are slippery even when dry. There’s no lighting, so reserve this for a clear sky day.
How to Reach Tianyi Pavilion Museum Without Getting Lost
Now, let’s talk about logistics. You don’t want to waste your photo time troubleshooting navigation. Tuck this into your phone:
English address: No. 10 South Street, Haishu District, Ningbo, Zhejiang Province, China.
Chinese address to show taxis: 浙江省宁波市海曙区天一街10号.
First, forget Google Maps — it’s inaccurate in Ningbo. Use Apple Maps or download AMap Global (no Chinese account needed). I even use the “Local Guide” phrase “天一阁” (Tianyi Ge) to get accurate results.
Here’s a head-to-head comparison of getting there from downtown:
| Transport | Time | Cost (approx) | Best For |
|---|---|---|---|
| Taxi / Didi | 15–20 min from Tianyi Square | RMB 15–25 | Anyone with camera gear — avoid stairs |
| Metro Line 1 | 8 min ride + 12 min walk | RMB 2 | Budget travelers; Ximenkou Station Exit B |
| Bus #517 | 35–50 min from train station | RMB 2 | Scenic route, but crowded during rush hour |
My tip: Take a Didi (Chinese Uber) to the South Gate, not the main tourist gate. The South Gate is where the morning light brings the garden to life, and you can enter immediately without walking through the parking lot. Search for “天一阁南门” on AMap. The driver will drop you at a small stone bridge. It’s a 200-meter walk to the ticket booth.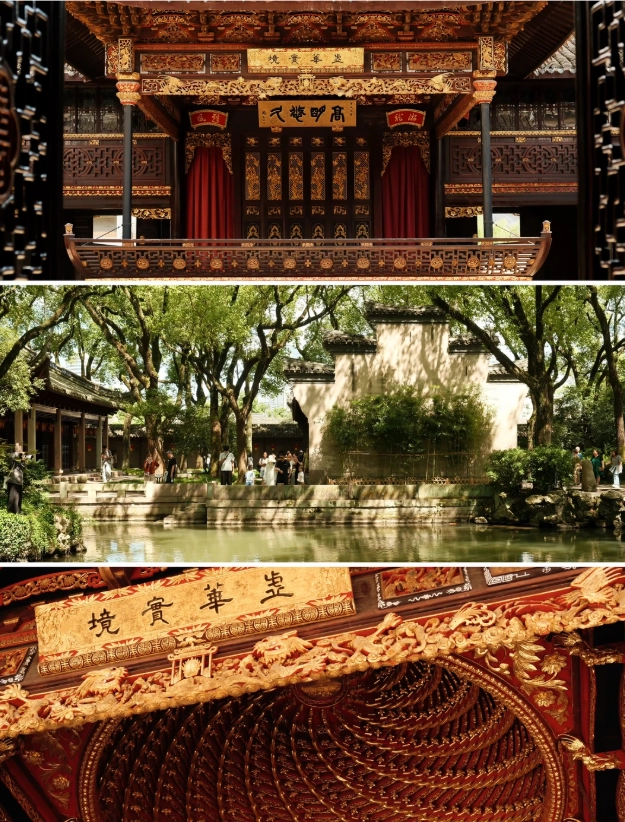
Pro Tip: Don’t try to use the official “First Parking Lot” on the main street. It’s always full, and you’ll lose 20 minutes circling. South Gate never has a line.
What You Need to Know About Tickets, Hours, and Entry Rules
Let’s get the boring but crucial facts straight. This is where most foreign visitors get stuck — and it’s why I recommend pre-booking.
Ticket price: 30 yuan per adult (approx USD 4.5). Children under 1.2m enter free. Seniors 60+ get 50% off — but you MUST show a passport or official ID, not just a photo.
Opening hours: 8:30 AM–5:30 PM (last entry 4:30 PM). Days vary by season. In winter, gates may close at 5 PM. There is no fixed “closed on Monday” rule, but they sometimes close on Monday afternoons for maintenance. Always check the official WeChat or a platform like Trip.com before your trip.
Booking requirement: The museum officially encourages real-name registration. You can buy tickets at the gate, but they may block the sale if daily capacity is reached (usually by 10 AM on holidays). The smart play is to book on Trip.com or Klook — both support English and let you enter with a QR code plus passport.
Payment at on-site ticket window: They accept cash, but credit cards (especially Visa/Mastercard) are often rejected. The only reliable digital payment is Alipay or WeChat Pay linked to a foreign card. If you have neither, bring exact cash. And bring small bills — the window nearly always runs out of change by mid-morning.
Locker storage: There are no rental lockers for large bags. If you have a tripod and a backpack, keep the tripod collapsed. Also, selfie sticks might be confiscated at the entrance if they see them. Just leave it in your hotel.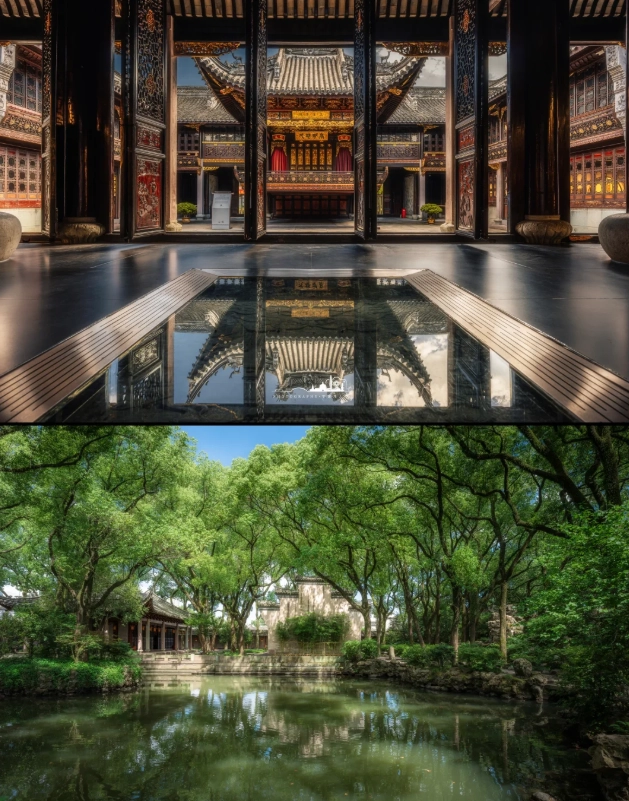
When Is the Best Time for Photography at Tianyi Pavilion?
This is the most important section in the entire guide. I’ve shot at this museum in every season, and I’ve seen the light change in ways that either make or break photos.
The single best time slot is 8:30 AM – 9:30 AM. The museum opens at 8:30. You’ll share the space with maybe a dozen locals (mostly morning strollers), and the low-angle sun casts long shadows that sculpt the architecture. The ponds are calm — you can get perfect reflections without wind friction.
Here’s a typical hourly breakdown I use with my private clients:
| Time | Light | Crowds | Best Action |
|---|---|---|---|
| 8:30–9:30 AM | Golden and soft | Minimal | Shoot reflections and wide angles |
| 9:30–11:00 AM | Slightly harsh, but strong geometric shadows | Moderate | Focus on corridors and architectural detail |
| 11:00 AM – 1:30 PM | High contrast, peaks | Peak crowds | Avoid photography; explore indoor rooms |
| 1:30–3:30 PM | Flat and warm | Busy with tour groups | Shoot details, macro, or rest |
| 3:30–4:30 PM | Golden hour begins, warm side lighting | Thinning out | Best time for catching the red lantern corridor |
Note: The park generally clears out by 4 PM because tour buses leave. Between 4:30 PM and closing, you may have whole courtyards to yourself — but staff will start gently sweeping and herding you toward the exit. That’s when I usually pack up.
If you’re stuck with an afternoon-only slot, don’t despair. The lighting is still decent until 3:30 PM, but you need a different tactic: use a polarizing filter to cut through the haze and shoot up-close architectural details that don’t depend on wide scenes. The rockeries in the East Garden are perfect for this.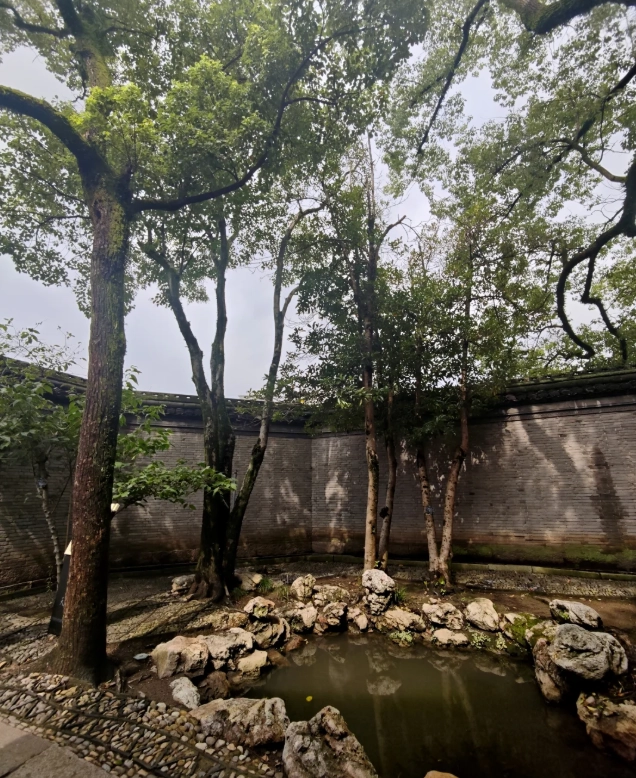
How to Nail Your Camera Settings and Avoid Classic Mistakes
I’ve seen tourists with expensive mirrorless cameras walk away with awful photos — not because their gear is bad, but because they’re using the wrong settings. Here’s what I’ve learned after coaching hundreds of clients:
Shutter speed: In low-light garden areas (caves, covered corridors), start at 1/50s. If you’re shooting with a 70-200mm, don’t go below 1/200s — the image stabilization is not a miracle worker. For the reflection pond, use a tripod if allowed (only in open courtyards) and drop to 1/8s for a silky water effect.
Aperture: Stop down to f/8 for most architectural shots. That gives you sharp edges from near to far. For portraiture or isolating a specific stone carving, open to f/2.8 or f/4. The key is to keep the “Tianyi Pavilion feel” — meaning you want the environment in frame, not just a blurred background.
ISO: Keep it at 100 on sunny days, 400–800 in the shade. The cave system? You’ll need ISO 1600 or higher. The camera’s noise is better than the motion blur from a shaky handheld shot.
White balance: The wooden architecture is warm, but the stone can cast blue shadows. Set auto white balance, then in post, adjust the tint slider slightly toward magenta to keep the sandstone color truthful. If you’re shooting JPEG only, use the “Shade” white balance preset to warm things up naturally.
A common mistake I see: using a fisheye lens too close to the curved roofs. It creates distortion that ruins the elegant curves. Instead, step back and use a 24-70mm zoom. The Ming Dynasty builders designed these rooflines for a specific perspective — usually straight-on with a slight upward tilt.
And for smartphone shooters: use the “Pro” or “Night” mode, but don’t over-sharpen. The museum’s textures are what make it special. Also, don’t use the 12MP telephoto unless you have a newer phone with optical zoom — otherwise you’ll get digital mush.
FAQ: Frequent Questions About Shooting at Tianyi Pavilion
Before You Go: A Final Honest Word
Look, Tianyi Pavilion is not the easiest place to photograph. The ticket process has gotten more digital, the paths are sometimes slippery, and the staff will not speak English. But once you’re inside, the place rewards patience with extraordinary compositions that you just can’t get anywhere else in Ningbo.
One last thing: the museum’s own café near the exit stays open until closing time. I always stop there for a soy latte and a slice of red bean cake. It’s a good place to review your shots on a tiny screen and decide if you missed anything. The staff there are used to foreigners — they accept Alipay and WeChat Pay, but not cash. So yes, you need your phone ready.
Now get out there and fill that memory card. And if you see a guy with a sun hat and a white map leading a small group — that’s probably me. Say hi, and I’ll show you my secret reflection pond spot.
This content has been fact-checked to ensure informational precision.
No comments yet.