 Tao Xu
Quick Guide
I still remember the first time I led a group up Tianmen Mountain. Half of them were too exhausted to lift their cameras after the cable car queue. That's when I knew I had to write this guide.
You've seen the postcards—the majestic Heavenly Gate, the glass walkway clinging to cliffs. But what the postcards don't tell you is how to actually get those shots without fighting a hundred tourists. After 20+ trips guiding photographers here, I've mapped out the exact spots, timings, and tricks to make your camera sing.
Here's the blunt truth: most visitors leave with the same mediocre shot. The iconic gate, a bit of fog, and a thousand selfie sticks. If you want something better—something that captures the drama and scale—you need to go beyond the obvious. Let's get started.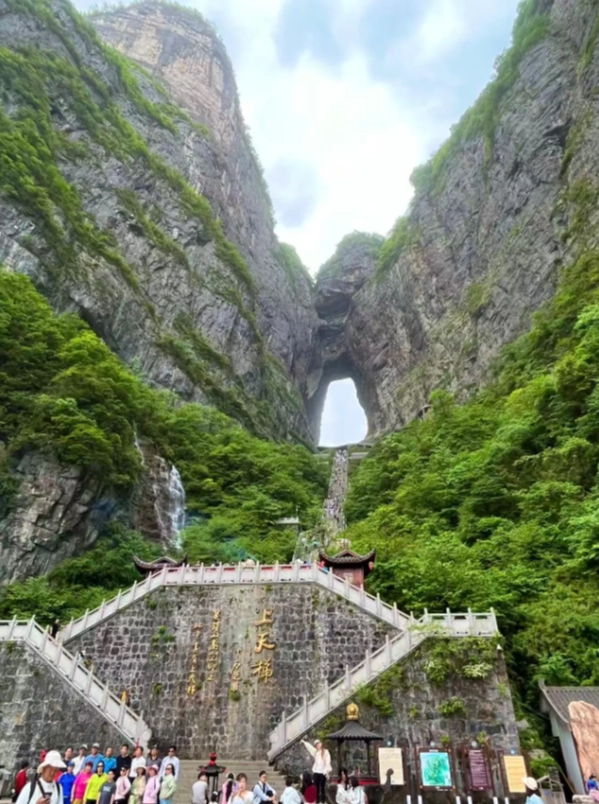
Why Most Photos Look the Same
Simple. Everyone shoots from the same few spots at the same wrong time. The mountain gets hammered by tour buses from 9am to 3pm. That's when the light is harsh and the crowds are thick. I've watched photographers set up their tripod in the middle of the skywalk, only to have someone walk right into their frame every five seconds.
But here's the catch: if you work with the mountain's rhythm, you can get shots that look like they're from a private tour. It's not about expensive gear. It's about knowing where to stand and when.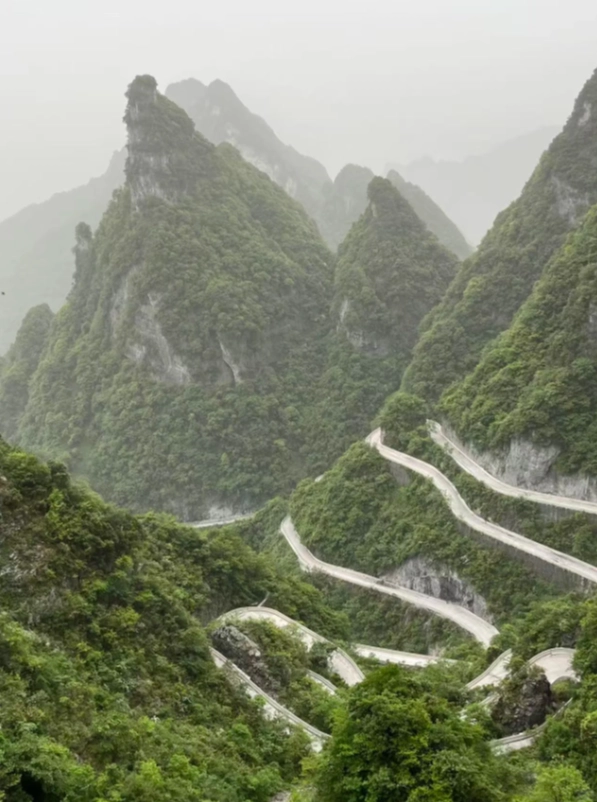
Must-Know Logistics Before You Shoot
Before we talk spots, you need to understand the flow. Tianmen Mountain has three main sections: the cable car up, the mountain top loop, and the famous 999 steps down to the Heavenly Gate. Each section has its own light, crowd pattern, and photo potential.
Here's a quick table of what you need to know:
| Item | Details |
|---|---|
| Ticket price (adult) | 278 RMB (includes cable car up and down) – book online via Trip.com or WeChat mini-program; not available at gate during peak season. |
| Ticket price (child/senior) | Child 1.2-1.5m: 144 RMB; Senior 60+: 147 RMB (must show passport). |
| Opening hours | Summer (Apr-Oct): 7:30–18:00, last cable car up at 16:00. Winter (Nov-Mar): 8:00–17:30, last cable car up at 15:30. |
| Best entry time for photos | First cable car at opening, or after 15:30 (winter) / 16:30 (summer). |
| Recommended visit duration | 4-5 hours minimum if you want to cover all key spots without rushing. |
| Photography gear note | No drones allowed inside the scenic area (strictly enforced). Tripods allowed but you'll struggle on narrow walkways during peak hours. |
The Best Photography Spots on Tianmen Mountain
I've broken down the mountain into zones. Each zone has its own personality. I'll tell you exactly where to stand, what lens to use, and the common mistake to avoid.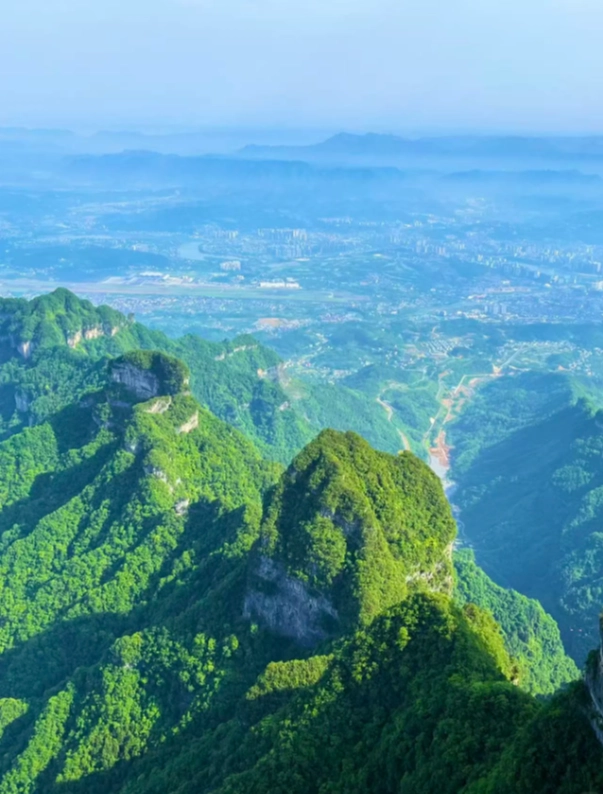
1. The Cable Car Ride (Upward)
Most people think the cable car is just transport. Wrong. It's your first and best chance for aerial-style shots of the mountain face. Best seat? Front-facing on the right side (direction of travel). That gives you an unobstructed view of the cliffs and the valley below.
Timing: Morning light (first ride) produces dramatic shadows on the rock formations. Afternoon light backlights the mountains, creating a haze effect that's dreamy but less sharp.
Pro tip: Use a polarizing filter to cut through the glass reflection. And don't use flash—it'll just bounce off the window. Set your camera to aperture priority (f/8 for landscape) and let the shutter adjust.
Your biggest enemy: Vibration from the cable car. I brace my elbows against my chest and shoot in burst mode. That way I get at least one sharp frame.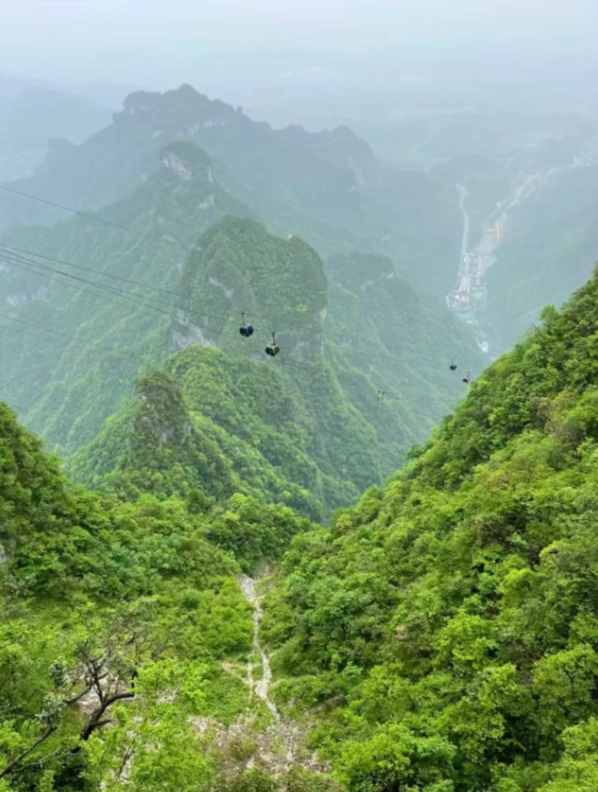
2. The East Line (Mountain Top Loop)
After exiting the cable car, you'll hit the east line. Most tour groups turn right and rush toward the glass walkway. I go left—toward the less crowded trails that lead to hidden viewing platforms.
Spot A: Lingxiao Terrace – A wooden platform jutting out over the abyss. The view here is wide, perfect for capturing the entire south skyline. Best time: Late afternoon around 16:00-17:00 (summer). The sun creates a golden rim on the cliffs. Lens: 24-70mm works great. You can fit the foreground rail and the distant peaks.
Spot B: Ghost Valley Plank Road – This is the glass walkway everyone wants to shoot. But here's the thing: shooting from the walkway is boring (just feet and glass). Instead, position yourself on the rock trail opposite the walkway. From there you can capture the entire line of people hugging the cliff. It gives scale and drama. Lens: 70-200mm to compress the perspective.
⚠️ Pain point: The glass gets scratched and smudged by midday. If you want clear glass shots, go as early as possible, before the first tour bus arrives. I always tell my groups: 'Be at the glass walkway by 8:15am or skip it.'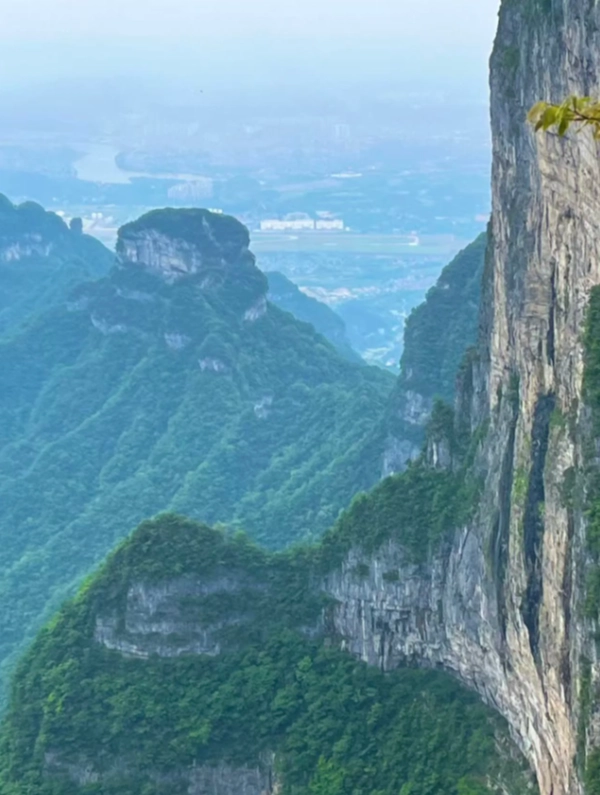
3. The Heavenly Gate (999 Steps & Gate Viewpoint)
This is the money shot. The huge hole in the mountain—the Tianmen Cave—with 999 steps leading up to it. Everyone tries to shoot it from the Square of Blessings at the base. That gives you a symmetrical view but also includes all the crowds.
My secret spot: Walk up about 200 steps (yes, you have to climb). Turn around and look back. From this elevation, you can frame the gate with the steps curving away below you, and no people in sight if you wait 30 seconds between groups. Lens: 16-35mm to exaggerate the curvature of the steps. Timing: Early morning (before 9am) or late afternoon (after 4pm). Midday light blasts through the gate and flattens the exposure.
One more: For a completely different perspective, go to the Yunmeng Fairy Peak viewpoint (east end of the top loop). From there you can see the gate from the side, with the mountain ridge framing it. Requires a moderate 20-minute walk from the cable car station.
4. The Ladder of Heaven (the 999 steps themselves)
Don't just shoot the gate—shoot the steps. The repetition, the climbers, the tiny figures. I love using a telephoto lens (200mm+) from the top of the steps, pointing downward. It creates an abstract pattern of lines and legs. Or from the bottom, looking up, with a person at the top for scale.
⚠️ Caution: The steps are steep and crowded. I nearly tripped last year while framing a shot. Use a fast shutter speed (1/500s or higher) if you're shooting people moving. And keep your camera strap wrapped around your wrist—I've seen two phones fall down the steps.
5. The West Line (less crowded, better light)
Most visitors do only the east line and then head down. That's a mistake. The west line offers quieter trails and a different angle on the mountain. Spot: Tianmen Mountain Temple – an old temple perched on a cliff. From the path just below the temple, you can frame the temple roof with the gate in the distance. Requires a walk of about 40 minutes from the cable car station. Best light: Morning sun hits the temple facade, creating a warm glow.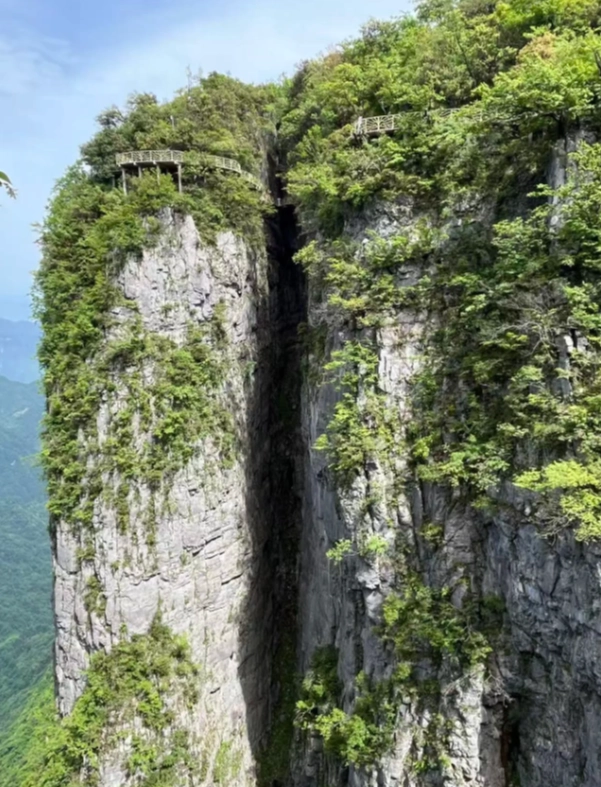
Golden Hours and Weather Tips
Light changes everything on this mountain. Here's my quick weather cheat sheet:
- Sunrise (6:00-7:30 summer, 7:00-8:30 winter): First cable car often coincides with sunrise. You'll get soft pastel light and minimal haze. But check the forecast—fog can block everything.
- Morning (7:30-10:00): Good for the gate and east line. Shadows are long, adding texture.
- Midday (10:00-14:00): Harsh, flat, and crowded. Use this time for lunch or shoot details (macro of rock textures, patterns in the stone).
- Late afternoon (15:00-17:00 summer, 14:00-16:00 winter): Golden hour starts around 16:00 in summer. The cliffs glow. Best time for wide landscapes.
- Fog and rain: Don't cancel! Fog adds mystery. Shoot silhouettes of the gate or the cable car emerging from clouds. But protect your gear with a rain cover—the mist soaks everything.
My rule: I check the weather app and if it says 'partly cloudy' I go. That's when you get those dramatic light beams breaking through the clouds. Clear blue sky is actually boring for mountain photography.
Insider Secrets for Unique Shots
Secret 1: The tunnel shot. There's a short tunnel on the east line near the glass walkway. Stand inside and shoot out toward the gate. The dark frame of the tunnel naturally vignettes the shot and draws the eye to the bright gate. Use spot metering.
Secret 2: Long exposure on the walkway. If you have an ND filter, set up on the rock trail opposite the glass walkway. Use a 2-second exposure to blur the people walking across the glass. They become ghostly silhouettes against the cliff. This only works in low light (early morning or overcast).
Secret 3: The 'no people' illusion. Even at peak hours, you can get clean shots by waiting 30 seconds between waves of tourists. Or shoot upward, cropping out the ground where people stand. For the gate, I use a very low angle (camera on the ground) to exclude the square full of people.
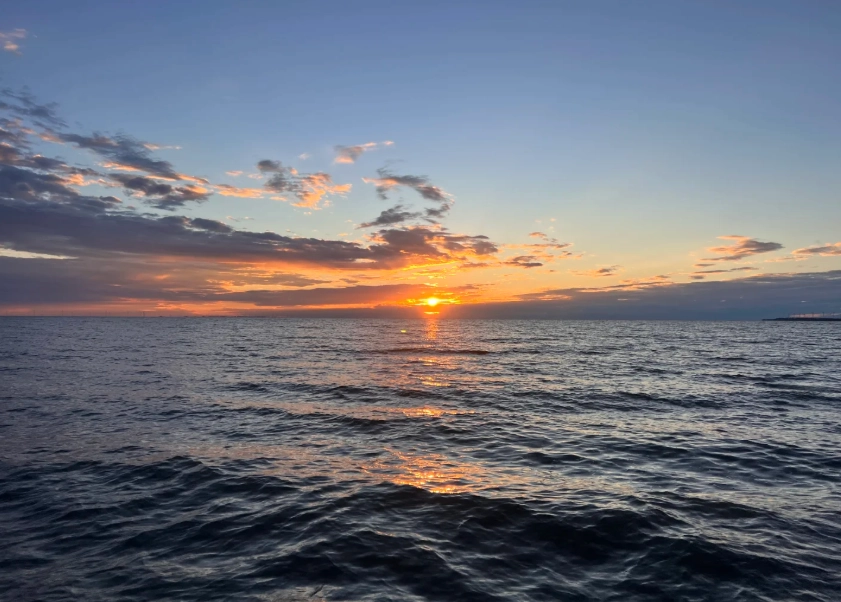
I've been to dozens of scenic spots in China, and Tianmen Mountain stands out purely because of the variety of compositions. The cable car ride itself is a photo goldmine — especially the last 5 minutes when you break through the clouds. And the hidden angle at the eastern staircase (just past the 'no entry' sign folks ignore) gave me a vertical shot of the arch with zero tourists. Timing: aim for 7:10 AM in October. Magenta sky, no crowds, pure magic.
Best photography investment I made in Zhangjiajie. The secret spot on the north ridge (marked as 'closure' on the official map but easily accessible via a short bushwalk) gave me a perfectly unobstructed view of the mountain peak against the setting sun. No crowds, just me and the wind. Used a 70-200mm and captured the texture of the rock face. Five stars, hands down.
This guide saved my trip. Followed the tip about shooting the temple ruins from the west side at golden hour — absolutely unreal. The light hit the red pillars just right, and the mist from the valley added a dreamy layer. Hidden angle behind the gift shop? Yes, that's the one that got me the cover shot for my travel blog. Can't recommend enough, just go mid-week.
Solid spot for landscape photography, especially the wide angle of the 99 bends road from the viewing platform around 4pm. Only gripe is the glass bridge gets super crowded and you can't really set up a tripod without bumping into people. Managed to get a nice long exposure of the clouds rolling through the arch — worth the 4am start, but not a perfect 5.
Went there last November for sunrise shots. The East Line was absolutely packed even at 6am. Got a decent view of the mist over the valley but the wooden walkway creaked so much it ruined the silence. The hidden angle near the cable car station I read about online was closed for maintenance — total letdown. Would come back only if they fix that spot.
I've been dreaming of this spot for years, and it did not disappoint. The article's tip about the 'south sky ladder' viewpoint was spot-on—I got an unobstructed view of the canyon with no tourists in the frame. The colors at golden hour were incredible, with orange and pink reflecting off the limestone. Even the cable car ride up offered great compositions. A must for any nature photographer's bucket list.
If you're serious about landscape photography, this is the place. I spent two full days here—dawn on day one for the foggy summit shots, and sunset on day two for the warm light hitting the cliff face. The hidden angle behind the temple ruins provides a perfect frame with the mountain in the background. Best time: just before 8 AM in clear weather. I'm still editing my keepers and can't stop smiling.
Absolutely worth every penny! I arrived at 5:30 AM to catch the mist rolling over the peaks, and it was pure magic. The guide's recommendation for the 'west corridor overlook' gave me a shot that looks straight out of a fantasy film. Crowds were minimal at that hour, and the golden hour light was stunning. Five stars without hesitation.
Overall a solid experience for photography lovers. I followed the tips for late afternoon light and got some nice shots of the cable cars against the rock face. The hidden spot near the east cliff is worth the extra walk, but it does get windy—bring a strap. Only gave it 4 stars because the ticketing process was a bit chaotic and the signs weren't clear for the lesser-known paths.
I came here specifically for the sunrise shots, but the clouds rolled in and completely blocked the view. The 'hidden angles' mentioned in the article were either hard to find or already crowded with other photographers. Maybe I just had bad luck, but for the effort and early wake-up, it was a letdown. The glass walkway was cool though.