 Qiang Huang
I’ve been guiding photography tours in Shanghai for over a decade. And let me tell you — Yu Garden is a nightmare for most photographers. Beautiful? Absolutely. But the crowds? They make Times Square look deserted. I’ve seen people spend two hours there and leave with nothing but blurry shots of strangers’ shoulders. That’s not happening to you.
Here’s the deal: you can get stunning, crowd-free photos of the pavilions, rockeries, and dragon walls. But you need the right spots, the right time, and a few tricks that most English-language guides won’t tell you. I’m sharing my personal cheat sheet from years of taking clients day after day.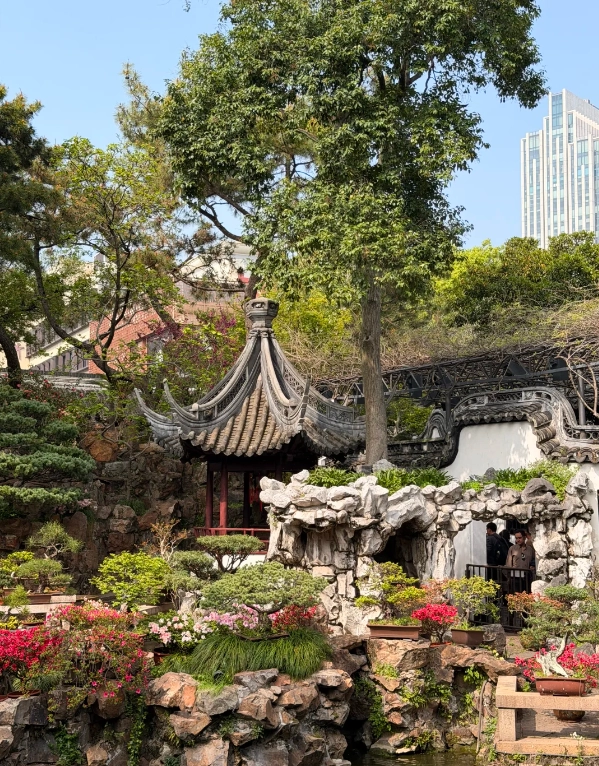
Why Most Tourists Get Terrible Photos at Yu Garden
Three reasons: wrong timing, wrong angles, and wrong expectation. The garden opens at 9:00 AM, but by 9:15 the main paths are already packed. Everyone shoots from the same spots — right at the entrance or the Nine Zigzag Bridge — and wonders why their photos look exactly like the ones on Google Images. You need to think like a local, not a tourist.
Another killer mistake: shooting in harsh midday light. The garden is full of dark corners and bright open spaces; the contrast blows out highlights and leaves shadows muddy. I always tell my clients: “If you can see the sun directly overhead, put your camera down and go grab some tea.”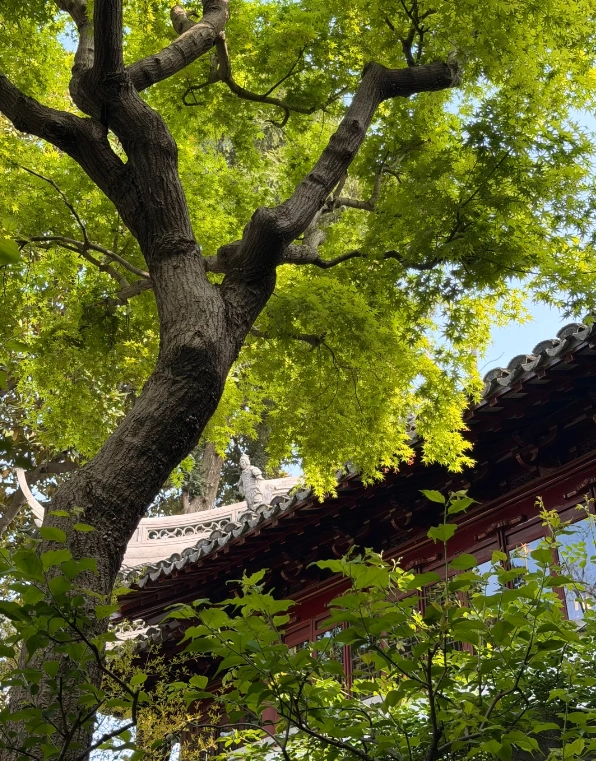
Golden Hours: The Only Times You Should Visit for Photography
Two windows work. First: 8:30 AM – 9:00 AM, right when the gate opens. You’ll have about 15 minutes of near-emptiness before buses roll in. Second: 4:00 PM – 5:30 PM in spring/autumn (3:00 PM – 4:30 PM in winter). The low sun throws long shadows and warms up those grey tiles.
Top 5 Yu Garden Photography Spots (With Exact Locations)
1. Nine Zigzag Bridge (Jiuqu Bridge)
Where: Directly in front of the Mid-Lake Pavilion. You can’t miss it.
Best shot: Stand at the south end of the bridge, facing north. Use a wide-angle lens (16-24mm) to capture the curved path leading to the pavilion. Crowd hack: Most people shoot from the center of the bridge. Instead, step to the side and shoot through the railings — it adds foreground interest and blocks out tourists.
Light: This spot is tricky. It’s shaded in the morning, so go at 4 PM when the sun hits the pavilion’s roof. I once waited 25 minutes for a gap in the flow of people. Patience pays.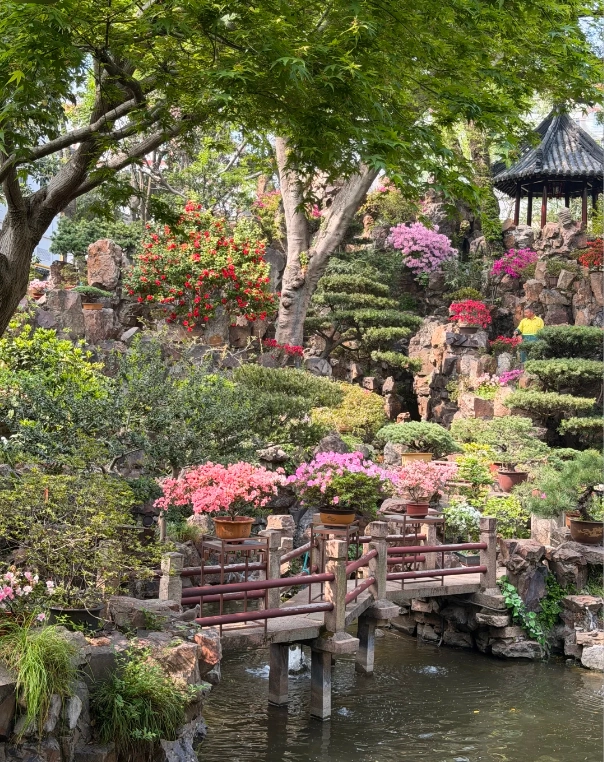
2. Mid-Lake Pavilion (Huxinting)
Where: That iconic teahouse in the middle of the pond.
Best shot: Zoom in with a 70-200mm lens from the west bank. You’ll compress the pavilion against the city skyline behind it. If you have a polarizing filter, use it to cut glare on the water. Avoid shooting from the bridge — you’ll only get a flat, straight-on view.
3. Dragon Wall
Where: Inside the inner garden (Neiyuan), near the southern exit.
Best shot: Get low. Crouch down and shoot upward at the dragon head. The blue and green ceramic scales pop against the sky. Use a fast shutter speed (1/250s) because the wall is in a narrow passage where people walk past every few seconds. I recommend a 50mm prime for this — it forces you to move and find the perfect angle.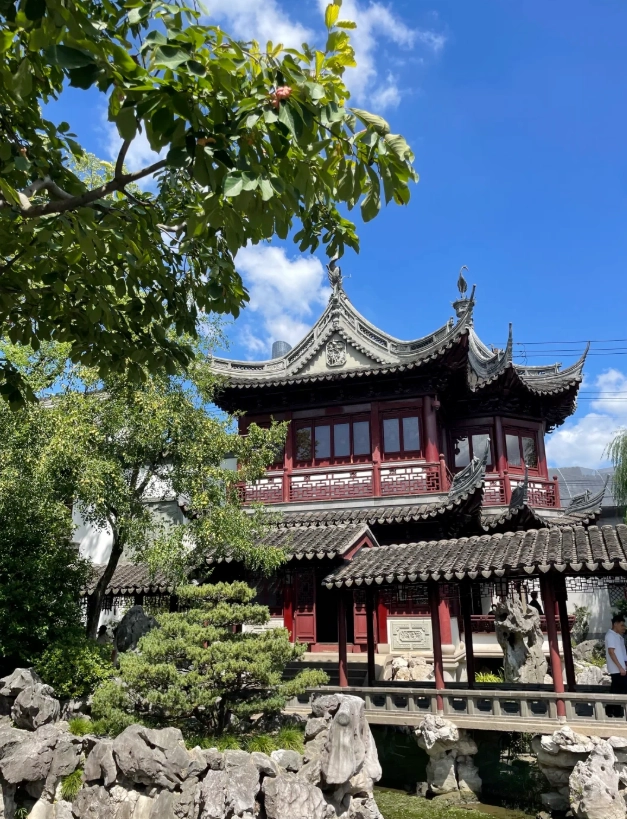
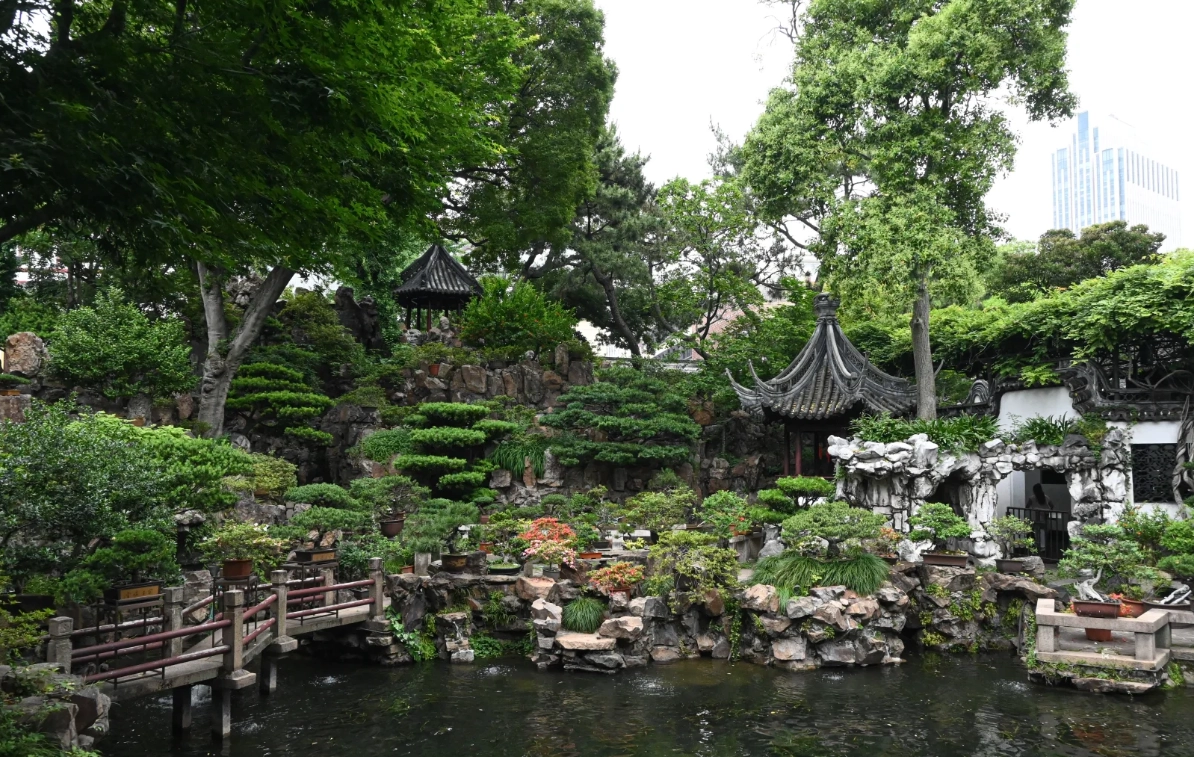
4. Rockery (Great Rock)
Where: The massive 12-meter-high limestone formation in the east garden.
Best shot: Use an ultra-wide lens (12-16mm) and stand directly underneath looking up. The crevices create leading lines toward the sky. Important: This area is roped off, so you can’t climb. Shoot from the designated path. I like to include a small branch of a bamboo tree in the foreground for depth.
5. Hidden Courtyard (Southeast Corner)
Where: Walk past the rockery toward the southeast exit. Through a small moon gate you’ll find a quiet courtyard with a magnolia tree and a stone table.
Best shot: This is my secret spot. I discovered it after my fourth visit when I got lost. The courtyard receives golden light from 3:30-4:30 PM. Place your subject (or a friend) at the stone table, shot from the doorway using a 35mm lens. The doorway frames the scene naturally. Hardly any tourists come here because it’s not on any map.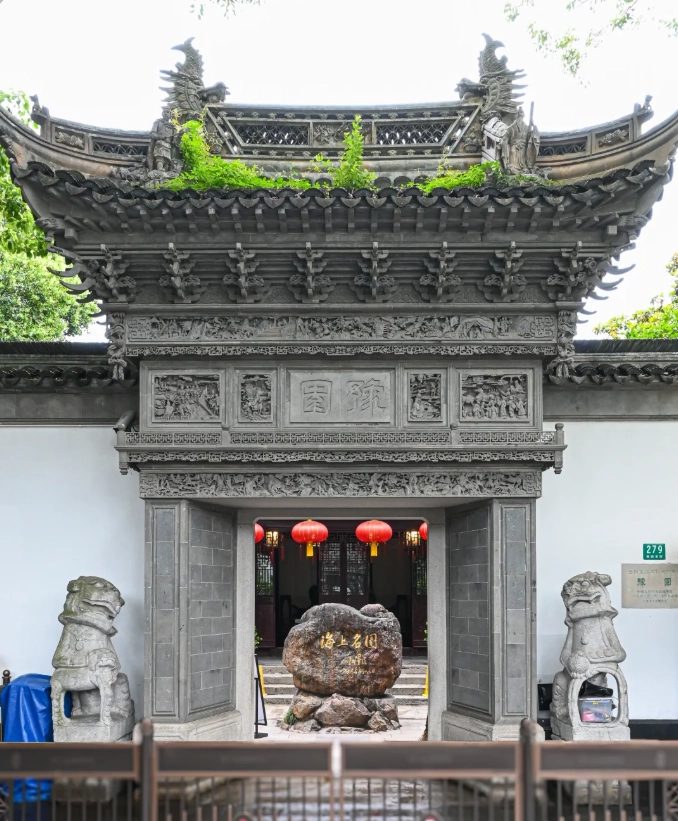
Camera Settings and Gear Recommendations for Yu Garden
| Situation | Recommended Lens | Aperture | Shutter Speed | ISO |
|---|---|---|---|---|
| Wide shots of bridges & pavilions | 16-35mm f/2.8 | f/8 – f/11 | 1/60s – 1/125s | 100-200 |
| Close-ups of dragon wall details | 50mm f/1.8 or 70-200mm f/4 | f/4 – f/5.6 | 1/250s | 400-800 |
| Low light inside pavilions | 24mm f/1.4 or 35mm f/1.4 | f/1.4 – f/2 | 1/30s (use stabilisation) | 800-1600 |
| Reflections after rain | 16-35mm + polarizer | f/8 | 1/60s | 100 |
Gear notes: A tripod is useful only for long exposures of the pond at sunrise, but you’ll need to arrive before the park opens. Security will ask you to pack it up if the area gets crowded. I always recommend a monopod instead — less obtrusive, still stabilizes. And bring a blower: dust from the rockery accumulates on sensors fast.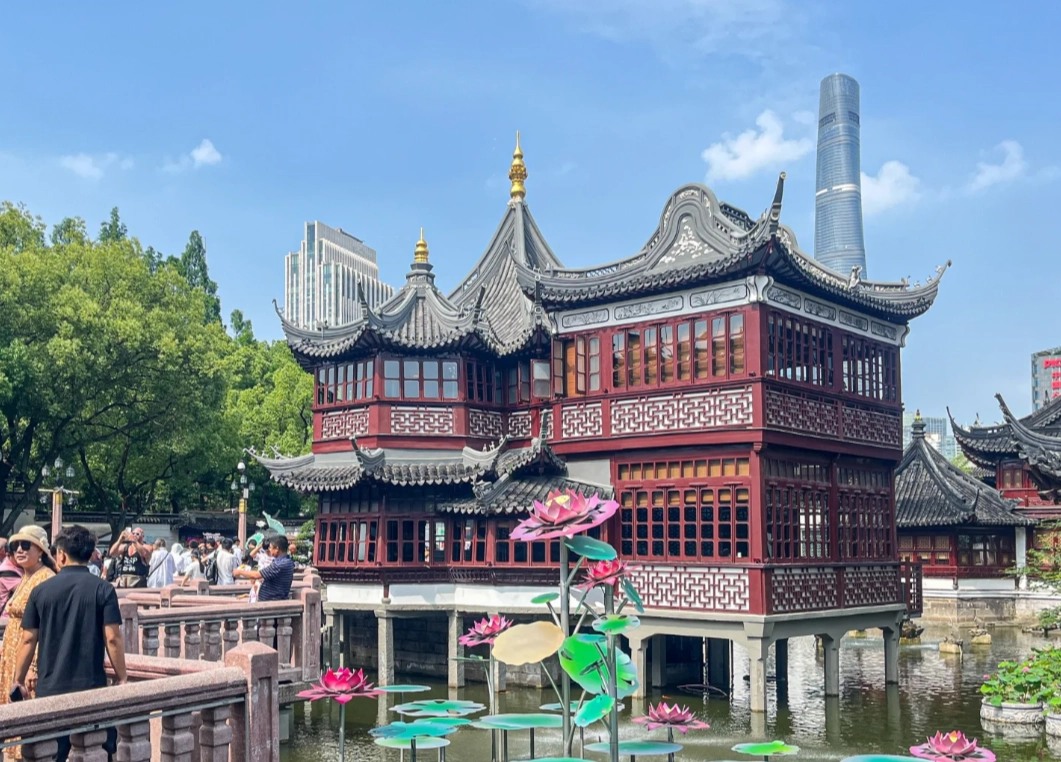
How to Avoid the Crowds: A Realistic Schedule
Here’s a schedule I use for private clients. It’s aggressive but effective.
- 8:15 AM – Arrive at the south gate (not the main east gate). Queue starts already, but the line moves fast.
- 8:30 AM – Gate opens. Run (don’t walk) directly to the Nine Zigzag Bridge. You have 10 minutes before the first tour groups hit it. Shoot wide then move on.
- 8:45 AM – Head to the rockery and dragon wall. Crowd here builds slower. Spend 20 minutes.
- 9:15 AM – Circle back to the Hidden Courtyard. By now the courtyard is still quiet (most visitors go straight to the main pavilion).
- 9:45 AM – Mid-Lake Pavilion from the west bank. By now the teahouse is open, and the reflection in the water is clear.
- 10:30 AM – Exit. Crowds become unbearable after 11 AM.
Frequently Asked Questions About Yu Garden Photography
Verified and fact-checked by the editorial team. This content has been fact-checked to ensure informational precision.
No comments yet.