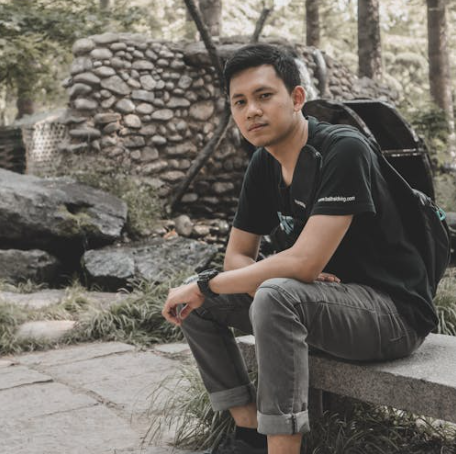
 Hong Ma
What You'll Find Inside
I've brought dozens of photography groups through this museum, and I keep discovering new angles every time. The museum's modern architecture mixed with ancient Tibetan and Qinghai artifacts creates a visual feast. But here's the catch — most tourists walk right past the best photo spots without noticing. Let me save you the frustration.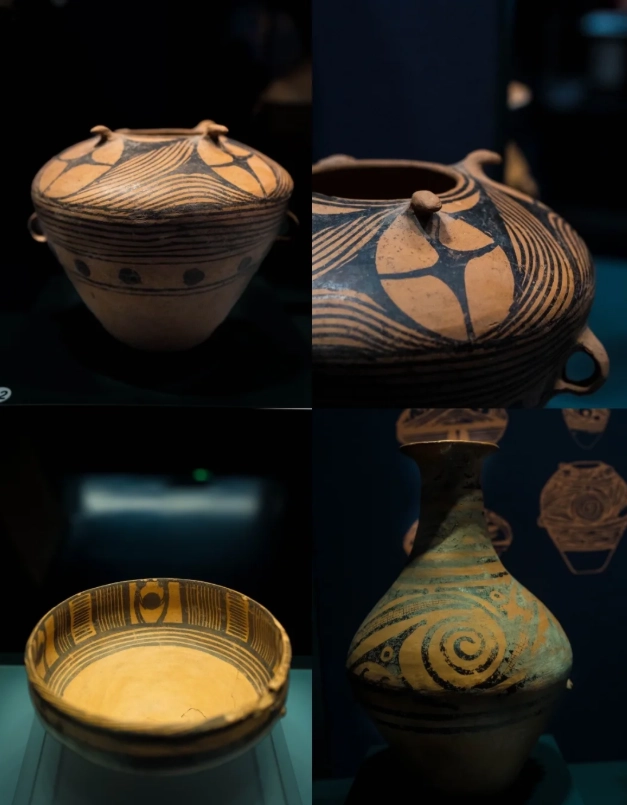
Why This Museum Is a Photographer's Dream
The museum itself is a work of art. The exterior combines traditional Tibetan fortress design with sleek glass panels. Inside, the natural light floods through a massive central atrium, creating ever-changing shadows. The permanent collection includes exquisite Tangka paintings, golden Buddha statues, and Neolithic pottery from the Qinghai-Tibet Plateau. Every corner offers a chance for a killer shot.
But — and I have to be honest — the museum's layout can be confusing for first-timers. The lighting changes dramatically throughout the day, and some galleries are surprisingly dark. If you don't plan, you'll end up with blurry shots and blown-out highlights.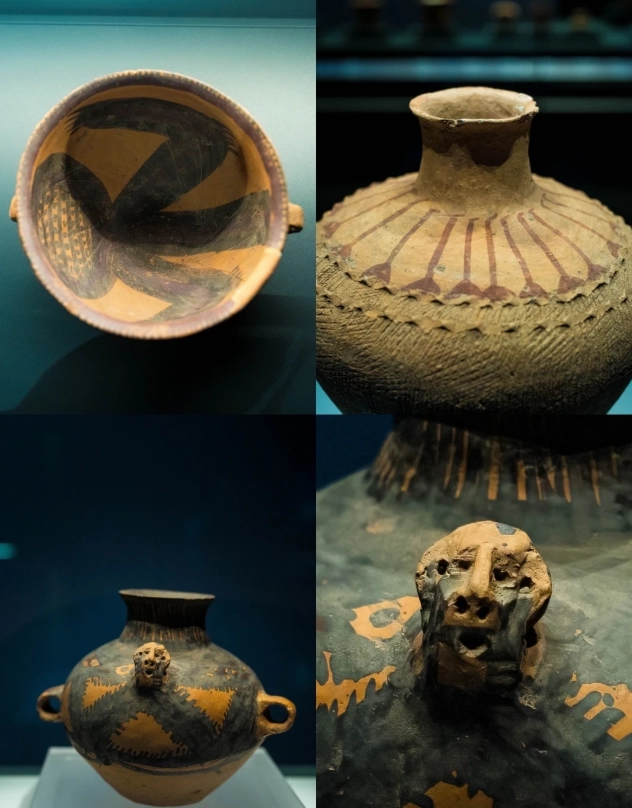
Top 5 Photography Spots Inside the Museum
1. The Central Atrium Staircase
This is the money shot. The spiral staircase wraps around a huge copper mural of Tibetan dragons. Stand at the bottom and shoot upward — the symmetry is breathtaking. Best time: 10-11 AM when the skylight hits the mural directly, creating a golden glow. Use a wide-angle lens (16-24mm). Avoid shooting straight up during midday; the contrast between bright ceiling and dark walls will kill your dynamic range.
Pro tip: Wait until a visitor in bright clothing walks up the stairs — it gives scale and a pop of color.
2. The Tangka Painting Gallery (Second Floor)
The gallery houses over 20 huge Tibetan Buddhist Tangka paintings. The lighting here is moody — dim with spotlights. I always tell my clients: do NOT use flash. It will ruin the colors and annoy everyone. Instead, bring a fast prime lens (f/1.4 or f/1.8) and crank up the ISO to 1600-3200. Lean against the wall for stability. Focus on the detailed faces of Buddhist deities — those expressions are pure gold.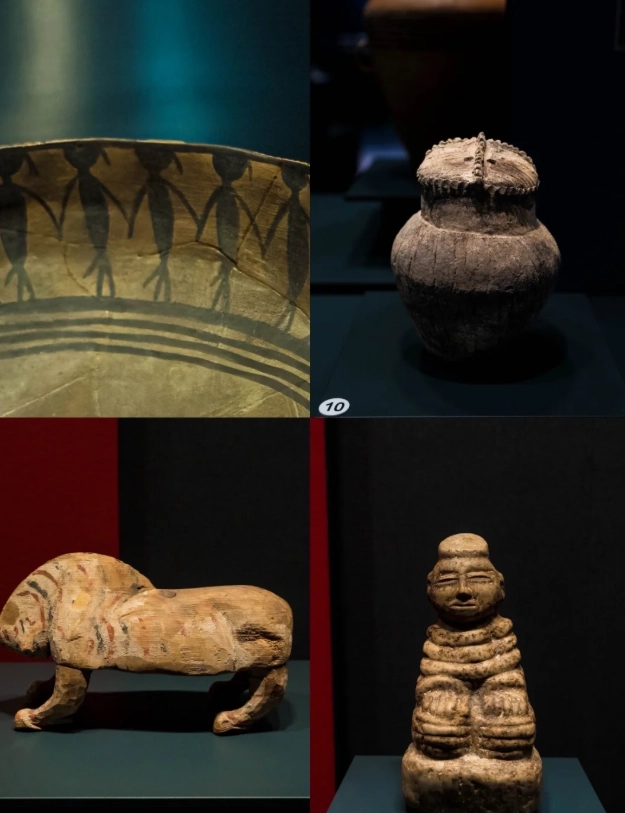
3. The Golden Statues of Amitayus (Third Floor)
These life-sized gilded Buddha statues are stunning. The glass case reflects everything, though. Stand at a 45-degree angle to the glass and use a circular polarizing filter. It cuts reflections better than any software. If you don't have a polarizer, press your lens hood right against the glass. Trust me, it works.
4. The Neolithic Pottery Display (Ground Floor)
The painted pottery from 4,000 years ago has intricate geometric patterns. The display cases are low, so you can shoot from above. Get close and fill the frame with a single pot — the patterns look modern. Use macro mode on your phone or a 50mm lens. I always shoot in black and white here; the stripes pop beautifully.
5. The Exterior Courtyard with Prayer Flags
Step outside to the small courtyard on the west side. Colorful prayer flags line the walls, with the museum's angular roof in the background. This is perfect for portraits or wide landscape shots. Late afternoon (4-5 PM) gives warm sidelight. Avoid noon — the overhead sun creates harsh shadows on people's faces.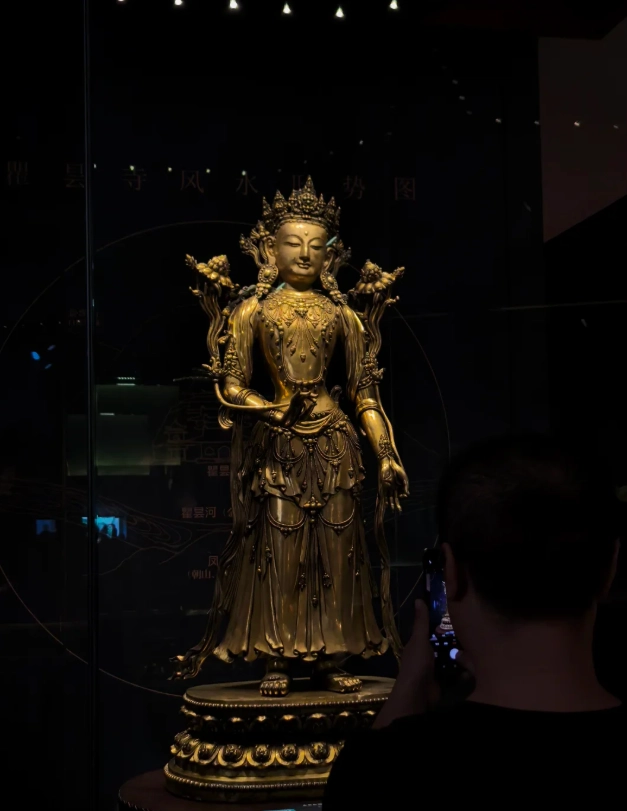
Best Times for Photography and How to Beat the Crowds
| Time | Light & Crowd Level | Best for |
|---|---|---|
| 9:00-10:00 AM (Opening) | Soft light, few people | Empty galleries, long shots |
| 10:00-11:30 AM | Golden atrium light, moderate crowd | Staircase and Tangka gallery |
| 12:00-2:00 PM | Harsh overhead light, peak crowd | Avoid unless you love people in your frame |
| 3:00-4:30 PM | Warm sidelight, thinning crowd | Exterior courtyard, golden statues |
| 4:30-5:00 PM (Last entry) | Golden hour, nearly empty | Last-minute atrium shots with long shadows |
My personal strategy: arrive at 9 AM sharp. I zip through the first-floor fast, then hit the staircase at 9:30 when the light starts streaming in. By 10:30 I'm in the Tangka gallery — it's quiet because most people are still on the first floor. Lunch break at a noodle shop nearby (ask me for directions). Then come back at 3 PM for the courtyard and statues.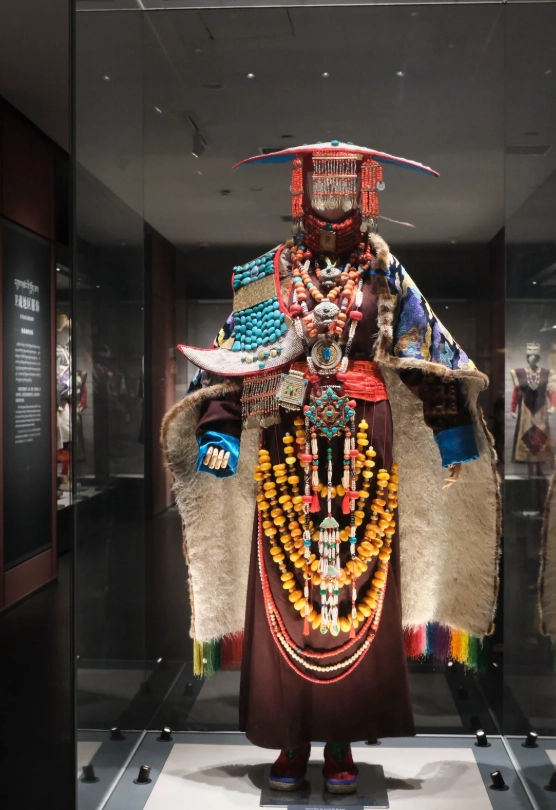
Camera Settings and Gear Recommendations
Here's what I've learned after years of shooting inside:
- Wide-angle zoom (16-35mm) for architecture
- Fast prime (35mm f/1.4 or 50mm f/1.8) for low-light artifacts
- Circular polarizing filter — essential for glass cases
- Lightweight tripod (only in courtyard)
- Extra batteries — cold in winter drains them fast
Settings: Shoot in aperture priority (A or Av mode). For architecture, f/8 to keep everything sharp. For artifacts, wide open (f/1.4-2.8) to isolate details. Keep ISO under 3200 to avoid noise. White balance set to 'Daylight' or 'Cloudy' for warm tones. Shoot RAW if your camera allows — it saves blown-out highlights later.
And yes, your phone can work too. Pro mode with manual focus and exposure helps. For iPhone users, use the 0.5x ultra-wide for the staircase. For Android, enable RAW capture.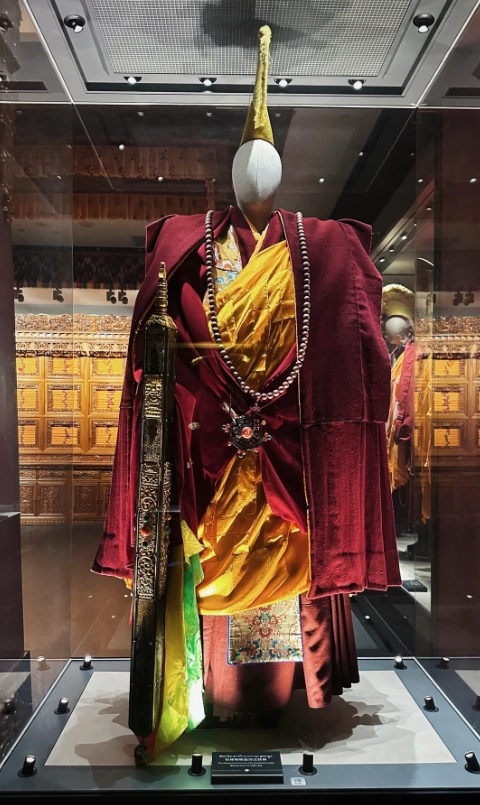
Practical Tips for Foreign Tourists
Let me get real with you. Booking a ticket is a pain if you don't read Chinese. You need to use a WeChat mini-program called '青海省博物馆' (Qinghai Provincial Museum). It's completely in Chinese. My hack: ask your hotel front desk to help you book. They do it all the time. Yes, it's annoying, but once you're inside, it's worth it.
Address: No. 60, Xiguan Street, Chengxi District, Xining. Show the taxi driver: 青海省博物馆西关大街60号. Entry fee: Free (with reservation). Opening hours: 9:00-17:00 (last entry 16:30). Closed on Mondays (except public holidays).
Security is strict. No selfie sticks or tripods inside. They'll make you check large bags. Bring only your camera and a small bag. And for the love of everything, don't touch the artifacts. I've seen guards yell at tourists who lean in too close.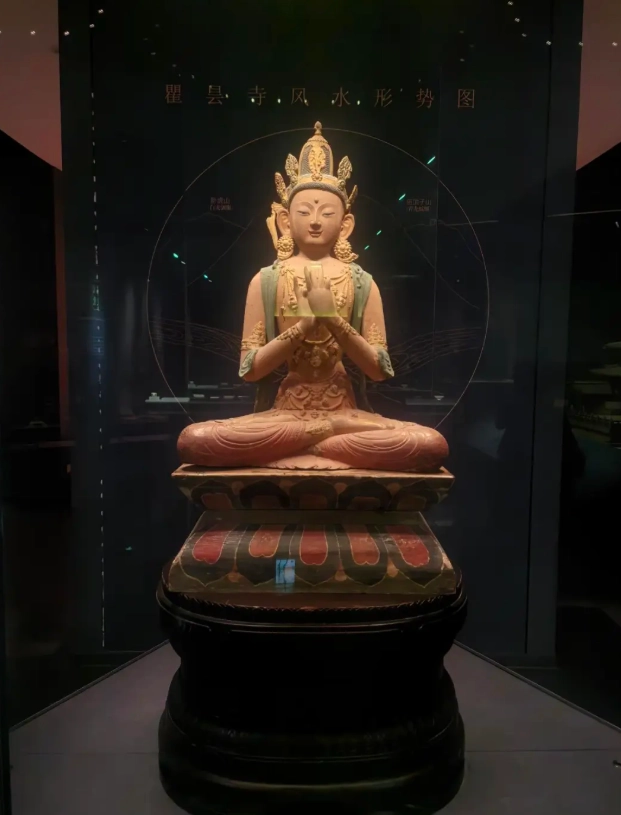
Frequently Asked Questions
Verified and fact-checked by the editorial team.
No comments yet.