 Hong Ma
Quick Look
I've lost count how many times I've driven clients across the Gobi to Yumen Pass. They all want that epic shot of the ancient beacon tower against the desert. But here's the thing—most walk away with either a washed-out noon photo or a frame filled with tourists. After 8 years of guiding photographers through this site, I've nailed down the exact Yumen Pass photography spots that deliver without the usual frustration. Let me save you the trial and error.
First, a reality check: Yumen Pass isn't a massive complex. It's a 20-minute walk from the parking lot to the iconic beacon, then a short loop to Hecang City ruins. But the light? That's everything. And the wind? It's your worst enemy for tripod stability. I always tell my groups: pack a small bag, wear layers, and be ready to wait.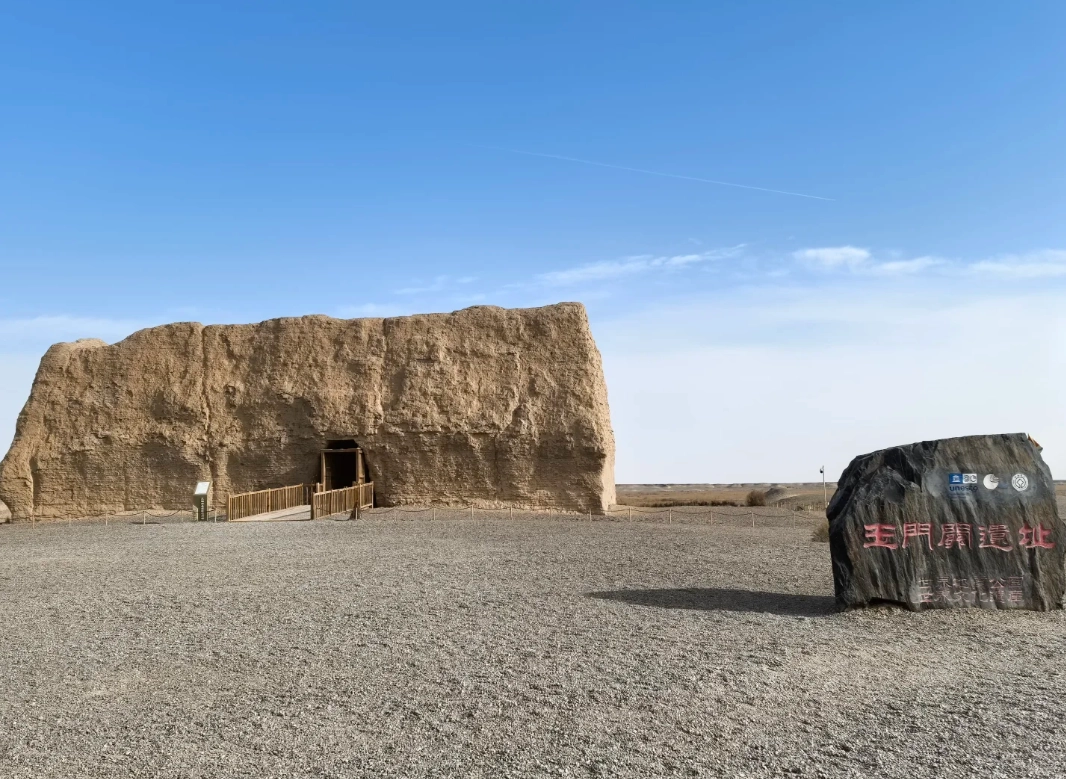
Best Photo Spots at Yumen Pass
I've circled the site dozens of times. Not all angles are equal. Here are the locations I personally repeatedly use:
1. The Classic Beacon Tower from the West Ramp
Walk past the ticket gate (keep moving, don't stop at the first view) until you reach the gentle slope on the western side. Squat down low—camera at knee height. This perspective makes the tower look taller, and the ruined wall leads the eye straight to it. I've taken my best Yumen Pass photography spots shots here. Avoid standing on the eastern side; the sun will be behind the tower most of the morning.
Tip: Position your subject (or focus) slightly left of center so the vast Gobi stretches to the right. Works for landscape as well.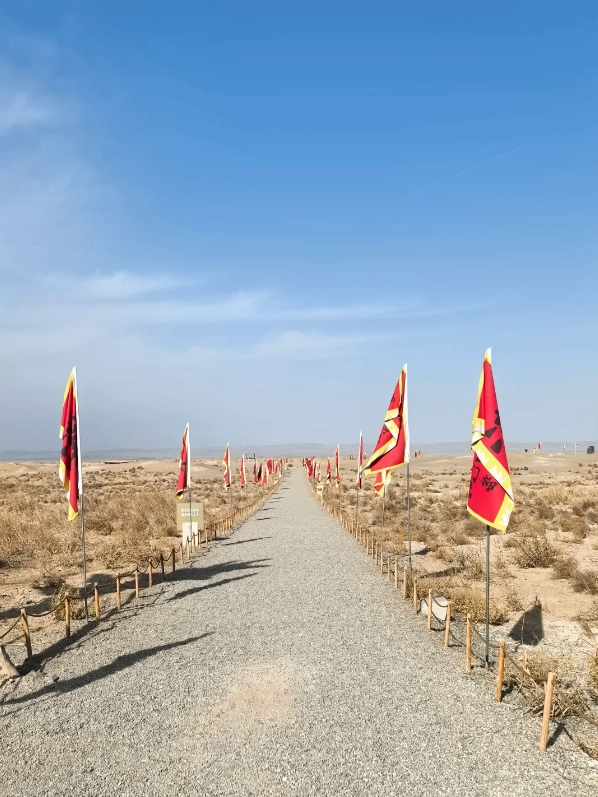
2. Hecang City Ruins – The Forgotten Angle
Most tourists rush back after the beacon. Don't. Walk another 5 minutes to the crumbling mud-brick walls of Hecang City. The texture here is incredible, especially when the afternoon sun casts long shadows. Use a wide-angle lens (16-24mm) to capture both the rough wall and the empty horizon. I like to include a piece of weathered wood or a desert plant in the foreground for depth.
Heads up: the ground is uneven with rubble. Watch your step, especially with a heavy lens.
3. The Boardwalk Curve – Minimalist Shot
Halfway between the parking lot and the beacon, the wooden boardwalk makes an S-curve over the sand. Stand on the higher end and shoot down the curve toward the tower. This gives a leading line. Come early — before 9 AM or after 4 PM — to avoid footprints on the boardwalk. One footprint smudge can ruin the clean line.
Golden Hours & Light Conditions
Sunrise and sunset are spectacular, but the park's opening hours complicate things. Here's a quick breakdown based on my experience:
| Time | Light Quality | Crowd Level | Best For |
|---|---|---|---|
| 8:00-9:00 (open time) | Soft golden, long shadows | Very low (first arrivals) | Beacon tower silhouette, clean wide shots |
| 9:00-11:00 | Bright, shadows shorten | Moderate | Hecang City texture, details |
| 11:00-15:00 | Harsh overhead, washed out | High (tour groups arrive) | Avoid unless you want harsh contrast |
| 15:00-17:00 | Warm again, side light | Moderate | Boardwalk curves, people portraits |
| 17:00-18:30 (last entry) | Golden hour, dramatic | Low (most leaving) | Silhouettes, wide landscapes |
Note: The park officially allows entry until 18:30 (times may shift seasonally). I always try to be there at opening time. Not many people want to wake early, but the reward is empty frames and that quiet, cool light.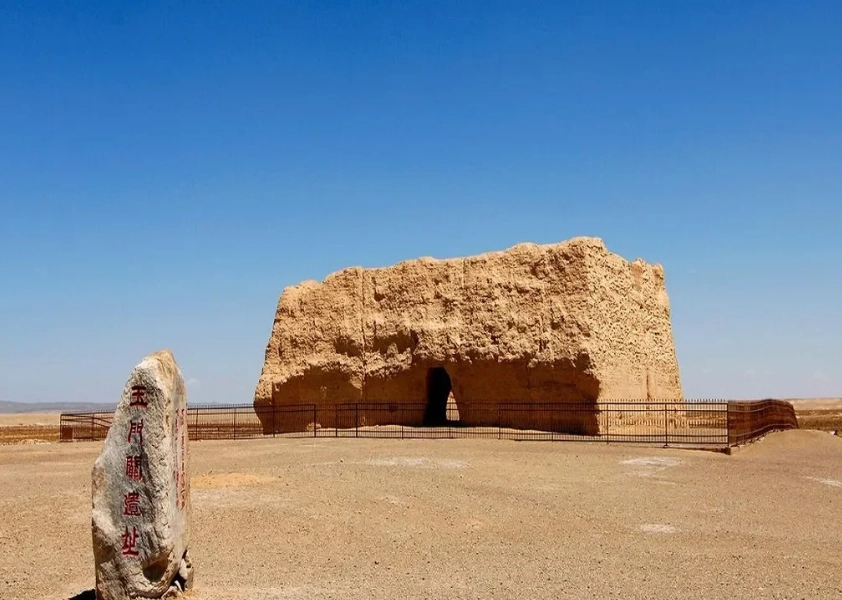
Tips to Avoid Crowds & Bad Shots
I've made many mistakes myself. Here's what I now pass on:
- Get the first ticket. The ticket booth opens at 7:45-ish. Be in line by 7:30. Once the first bus of tour groups arrives around 10:00, the beacon area becomes a mess of selfie sticks.
- Ignore the main path after the beacon. Walk straight to the back of Hecang City. The few tourists that wander back there usually stay close to the entrance. Go deeper — you'll find isolated walls with no one around.
- Watch the wind. The Gobi wind is no joke. On a typical day, wind speeds can hit 30-40 km/h. Use a sandbag or weight your tripod bag. I've seen tripods topple. Handheld shooting with a fast shutter (1/250s or faster) is safer if you're steady.
- Polarizer is a must. The desert sand reflects a lot of harsh light. A circular polarizer cuts glare and saturates the blue sky. Don't leave it at home.
- Bring water and sunscreen. Not photography but survival. I once spent 40 minutes waiting for the perfect cloud formation and got a burn. You'll be exposed with zero shade.
One more insider note: The unmanned drone rule. Drones are prohibited without a special permit. I've seen rangers confiscate. Don't risk it.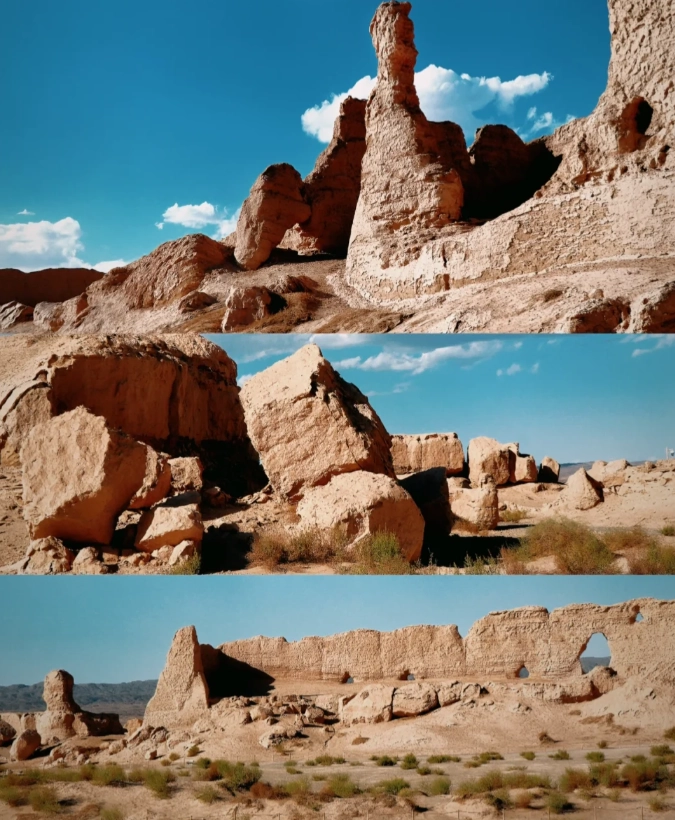
I'm not a hardcore photographer, just someone who wants a nice Instagram shot, and this guide was perfect for me. It broke down the best light conditions in simple language and even suggested a phone-holding trick to avoid hand shake in the wind. The sunset silhouette shot of the beacon tower turned out exactly like the example. Used it three days in a row. Loved it!
As a solo traveler with a basic mirrorless camera, this guide made me feel like a pro. The sunrise spot at the Eastern Ridge gave me a completely different perspective than the usual tourist photos. I loved the 'angle cheat sheets' with side-by-side comparisons of f-stops—so practical! Even the recommendation to bring a small spray bottle for dust on the lens was genius. 5 stars.
Bought this guide hoping to nail the iconic 'moon over the pass' shot, but the instructions were vague. It said 'find a high vantage point near the north tower'—there are like five towers! I wasted the first two hours wandering. The composition examples are nice, but the location descriptions need way more precision. For the price, I expected better. Just okay.
Good guide overall, but I felt it focused too much on technical camera settings and not enough on the actual hiking routes to those spots. Some of the 'secret' angles required a bit of scrambling over rocks that wasn't mentioned. Still, the light timing advice was solid and got me two decent photos. Would have liked more practical logistical tips though.
This guide is a lifesaver! I've been to Yumen Pass twice before and never got the shots I wanted. The detailed maps for golden hour angles were spot-on—I finally captured the ruins with that perfect warm glow. The tip about using a polarizer to cut through the dust haze saved my sunset shots. Absolutely worth every penny, highly recommended for any landscape photographer.