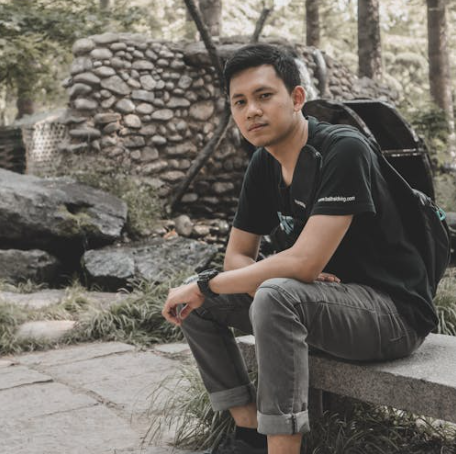
 Hong Ma
I’ve led dozens of tours to Shuidonggou. And every time, someone asks the same thing: where’s the best spot for a photo? Honestly, most online advice misses the mark — they tell you to go to the same crowded platforms, while the real gems hide just a few steps away. Let me save you the trial and error.
After countless visits, I’ve nailed down the Shuidonggou Archaeological Site photography spots that actually deliver. This isn’t generic travel fluff. You’ll get exact coordinates, timing, and the little details that turn a snapshot into a wall‑worthy image.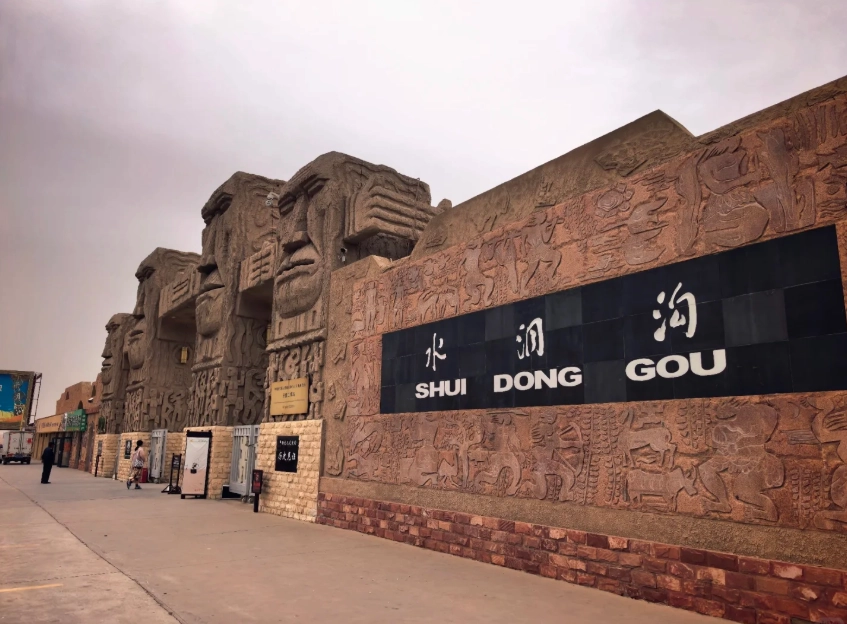
Why Shuidonggou Archaeological Site photography spots Matter
Shuidonggou is a unique mix of rugged desert canyons and ancient human history. The light hits the yellow earth formations differently every hour. Most tourists rush through the main boardwalk and miss the side trails where the real drama happens. As a guide, I’ve seen too many people leave with average photos and regret.
The key is knowing where to stand and when. The site covers a large area — from the museum to the excavated pits to the canyon rim. Without a plan, you’ll waste time and end up with harsh shadows or empty backgrounds. I’ll break it down so you can focus on composition, not navigation.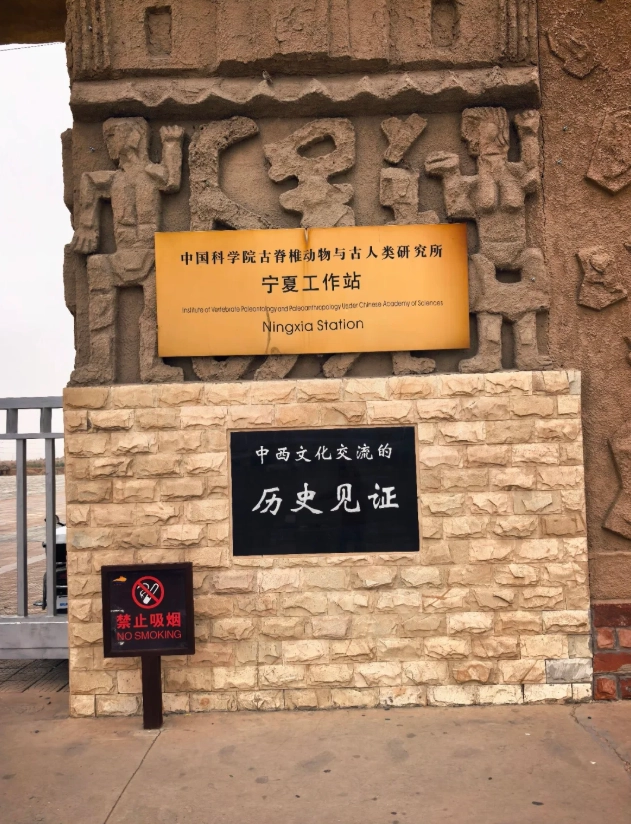
Best Time to Shoot at Shuidonggou
Light makes or breaks your photos. Here’s the honest truth: midday (11 am–2 pm) is brutal. The sun is directly overhead, washing out the texture of the sandstone and creating harsh shadows under people’s eyes. I always tell my groups to arrive before 8 am or after 4 pm.
Golden Hour Windows
Morning (7:00–9:00 am): The sun rises behind the eastern cliffs, casting a warm glow on the main excavation area. The air is still, and the reflection on the small lake near the museum is mirror‑like. This is my personal favorite for wide landscapes.
Afternoon (4:30–6:30 pm): The low sun rakes across the canyon walls, emphasizing every layer of sediment. If you want dramatic textures, come in late afternoon. The shadows stretch and add depth.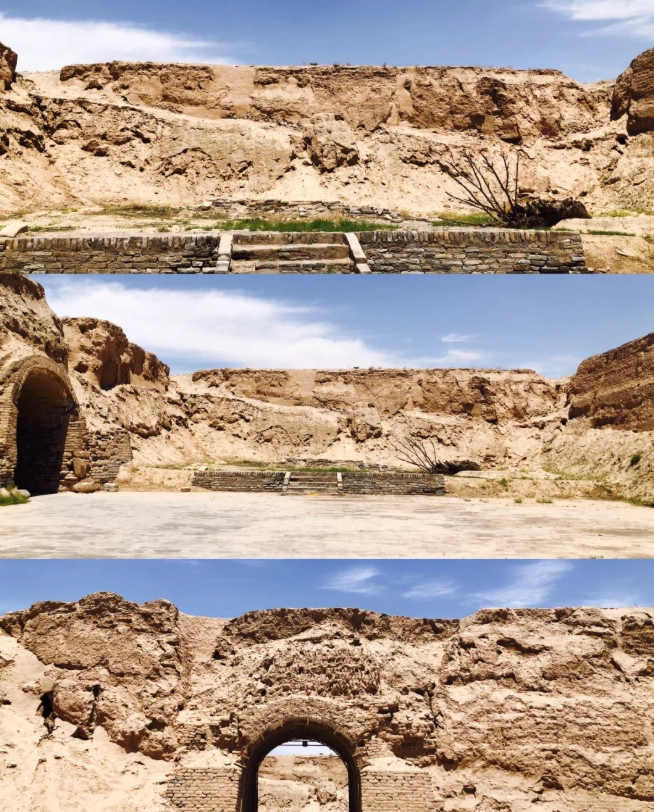
Top Photography Locations Inside the Site
I’ve mapped out five spots that consistently produce outstanding shots. Each has a slightly different feel.
| Spot | Best For | Time | Access |
|---|---|---|---|
| 1. Museum Lake Overlook | Reflections, sunrise | 7–9 am | 2 min walk from museum |
| 2. Excavation Pit No.1 | Archaeological detail, silhouettes | 4–6 pm | Follow main path west |
| 3. Canyon Rim Trail | Panoramic desert landscape | Any golden hour | 15 min hike from pit area |
| 4. Hidden Reed Marsh | Texture, autumn colors | Morning | Small trail behind restroom at pit 2 |
| 5. The Old Fort Ruin | Human‑scale, history | Late afternoon | Far east end, near exit gate |
Detailed Breakdown
Museum Lake Overlook: The water is usually calm before 9 am. Use a polarizer to cut glare and boost the blue sky. I set my tripod low to include the reflection of the museum’s modern architecture against the ancient hills.
Excavation Pit No.1: This is the most famous dig area. The wooden roof structure can be included as a leading line. During sunset, stand at the west side of the fence to get the sun dipping behind the excavation layers. Don’t climb over the barriers — rangers are strict.
Canyon Rim Trail: A short but steep climb. The view is worth it: endless rolling hills with the winding Yellow River in the distance. Use a telephoto lens to compress the layers. I got my best social media shot here — a lone figure on the edge.
Hidden Reed Marsh: Most tourists skip this because it looks like a dead end. In early October the reeds turn golden and contrast beautifully with the red sandstone. It’s also a quiet spot for bird photography.
The Old Fort Ruin: This damaged watchtower is often overlooked. Frame it with the eroded stone wall in the foreground for a sense of age. The light hits it perfectly around 5 pm.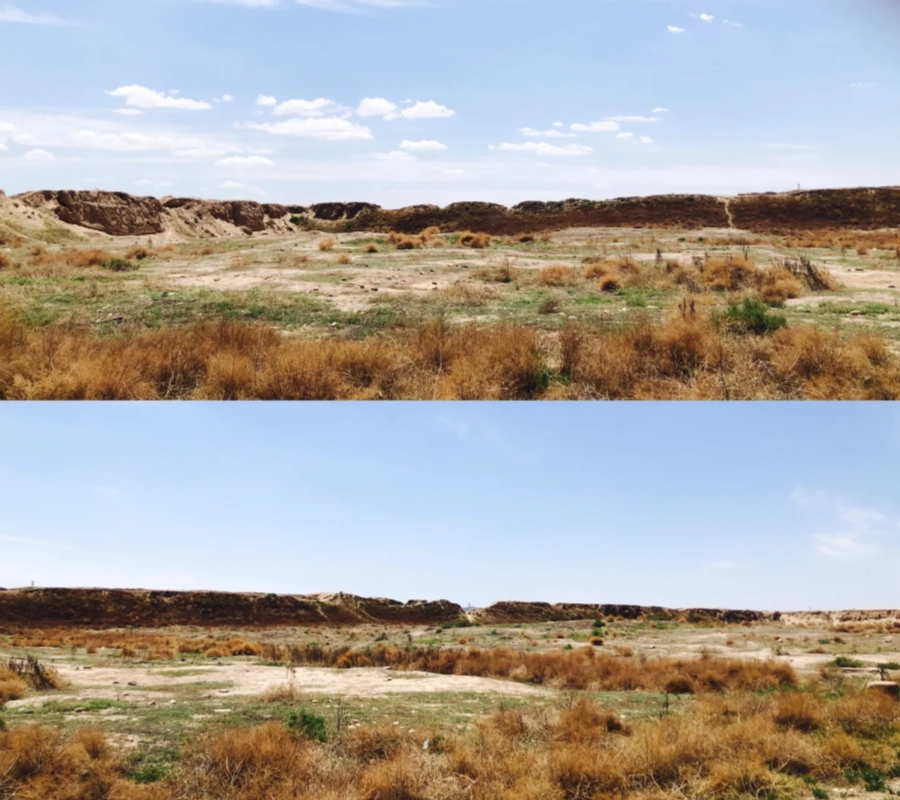
Camera Settings & Gear Recommendations
You don’t need expensive equipment, but a few adjustments help. Here’s what I pack:
- Lens: A versatile zoom (24‑70mm) covers most scenes. For the canyon rim, a 70‑200mm isolates distant peaks.
- Polarizer: Mandatory for the lake and sky. Reduces glare and saturates colors.
- Tripod: Essential for sunrise long exposures. The wind can be strong on the rim — weigh it down with your bag.
- Filters: A graduated ND helps balance bright sky and darker foreground during golden hour.
Settings wise: shoot in aperture priority (f/8‑f/11 for landscapes). Keep ISO low (100‑400). Use spot metering if the scene has high contrast. For handheld shots in dim light, bump ISO rather than blur the image.
How to Avoid Crowds for Clean Shots
Shuidonggou gets busy, especially during Chinese public holidays. But here’s a strategy that works every time:
Go early. The site opens at 8 am. Buy your ticket online the night before (more on that below) and be at the entrance by 7:50. You’ll have almost an hour of relative solitude before the tour groups roll in around 9:30.
Walk opposite the main flow. Most visitors go straight to Excavation Pit No.1. Instead, head to the canyon rim first while it’s empty. By the time you come back down, the pit will be packed — but you can still get clean shots by using a long lens and a patient wait.
Stay late. The last admission is usually 5:30 pm, but you can stay until 6:30 or later. After 5 pm, the crowds thin dramatically. I’ve captured entire landscapes without a single person in frame.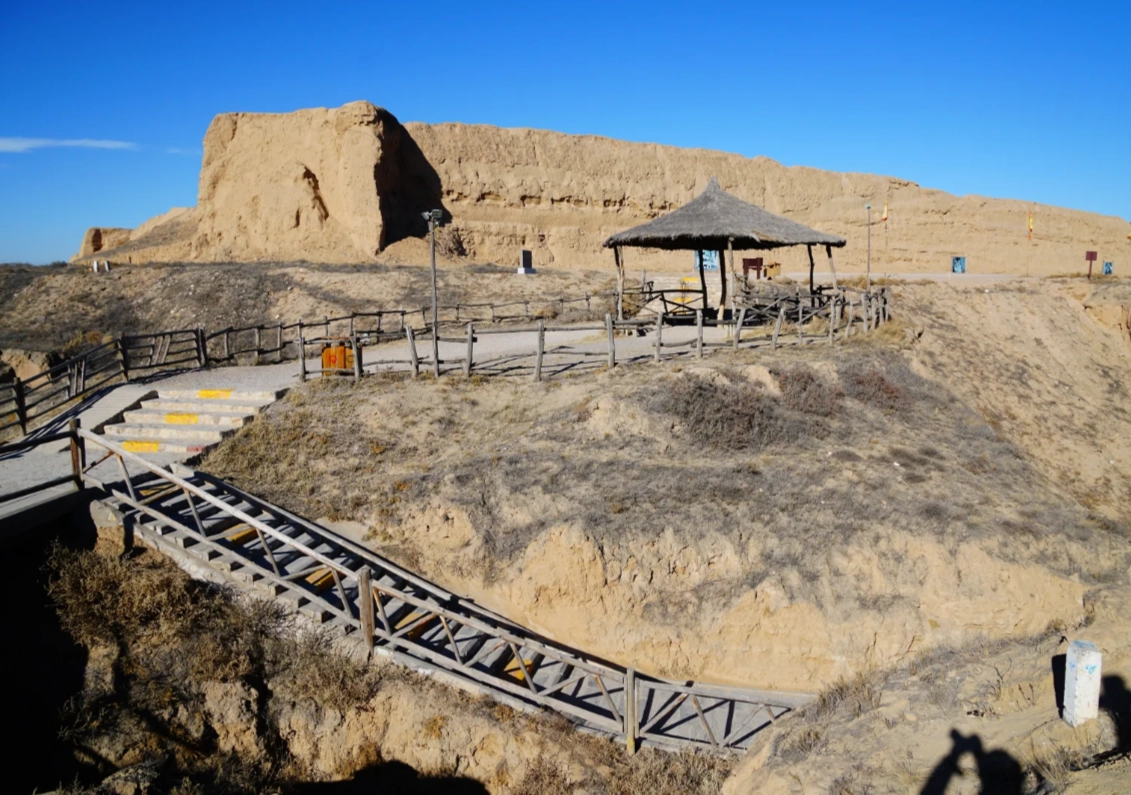
Practical Tips for Foreign Visitors
Let’s be real: navigating Shuidonggou as an international traveler involves a few headaches. Here’s how I handle them.
Ticket Booking
Yes, you need to book via WeChat mini‑program, and it’s all in Chinese. It’s a nightmare even for me sometimes. My advice: ask your hotel receptionist to help you. Or use Trip.com (they have English) — they sell tickets with a small commission. Adult ticket is 60 RMB, students and seniors get half price.
Getting There
From Yinchuan city center, it’s about 40 km east. A taxi costs around 150 RMB and takes 1 hour. Or take the tourist bus from Yinchuan Tourism Bus Station at 8 am (30 RMB). The bus returns at 4 pm — be on time or you’ll be stranded. The last bus is unreliable in winter.
I usually tell my clients to hire a private car for the day (around 400 RMB including waiting time). That way you can stay for sunset and not rush.
On‑Site Essentials
- Toilets: There are two: one near the museum, one near Pit No.2. The one at the museum is cleaner. The Pit No.2 toilet often has a queue — go before you head into the canyon.
- Food & Water: Only instant noodles and snacks at the small shop near the exit. Bring your own lunch and plenty of water. No credit cards accepted — only cash or WeChat/Alipay.
- Sun Protection: The sun is intense even in autumn. Wear a hat, sunscreen, and sunglasses. The glare from the sand can give you a headache.
Accessibility
The museum and main path are wheelchair‑friendly, but the canyon rim trail is steep and unpaved. Visitors with mobility issues should stick to the lower areas.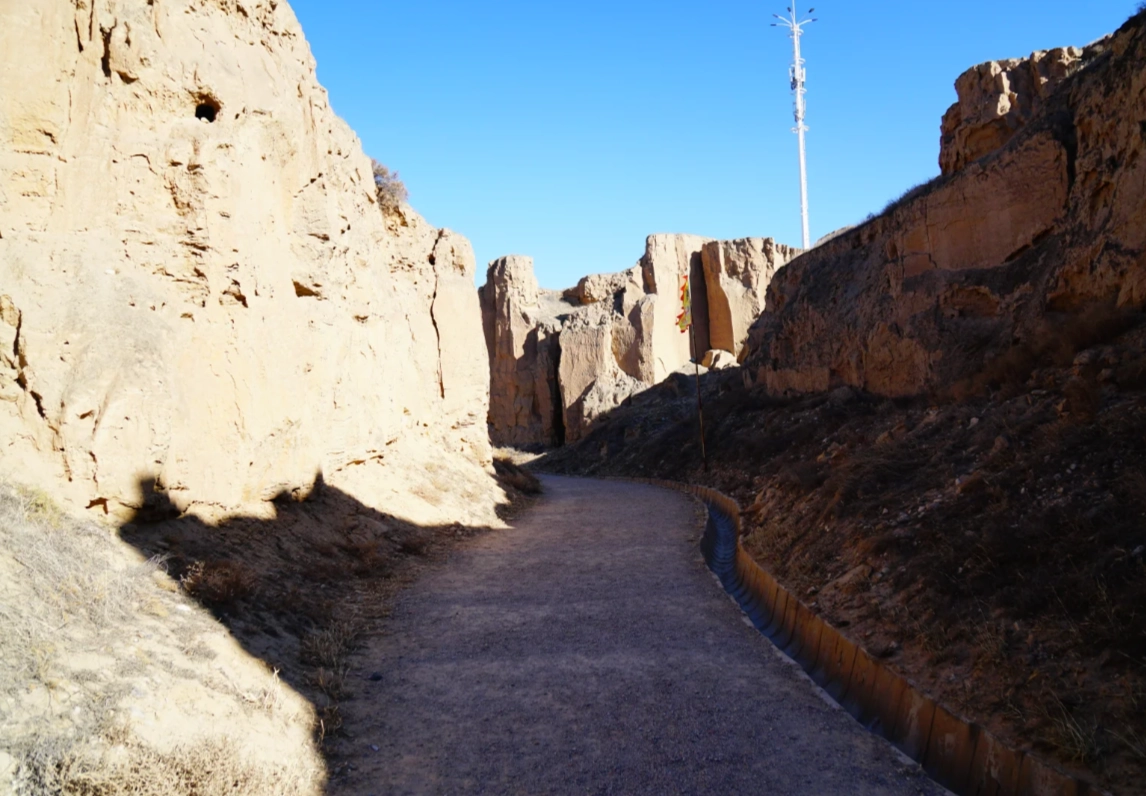
Frequently Asked Questions
This content has been fact‑checked and verified by the editorial team. All tips are based on personal guiding experience and on‑site observations.
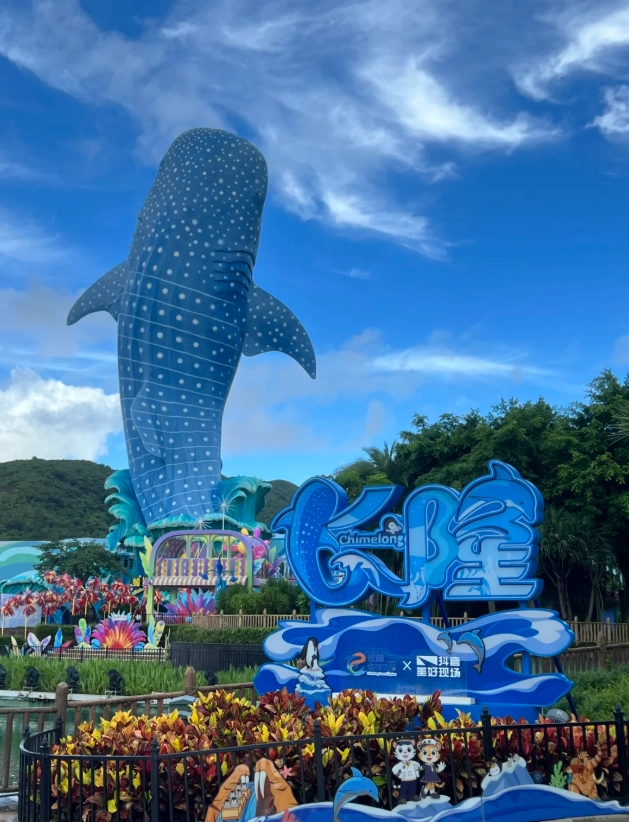
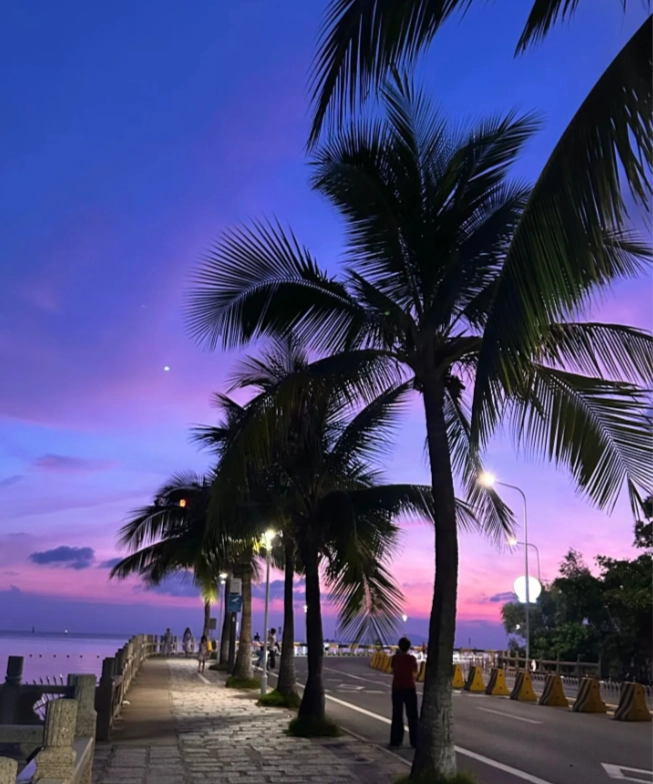
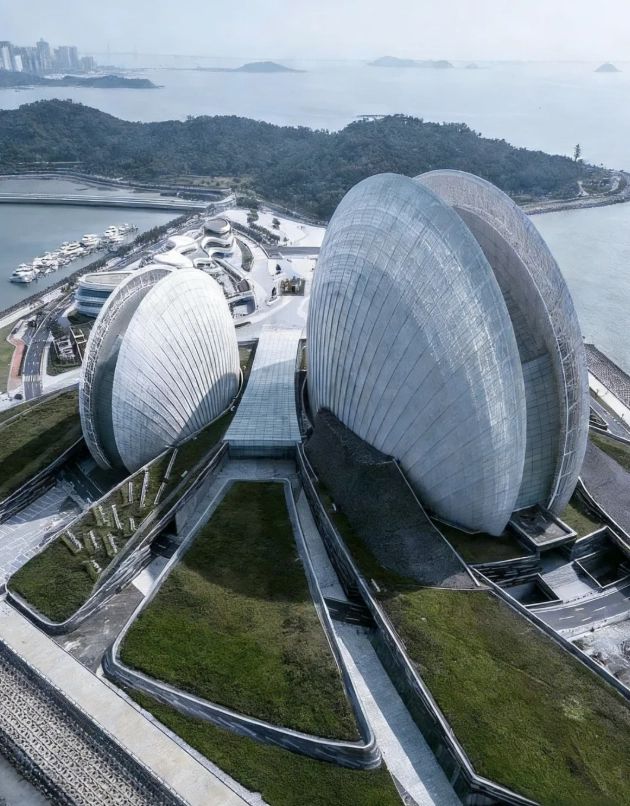
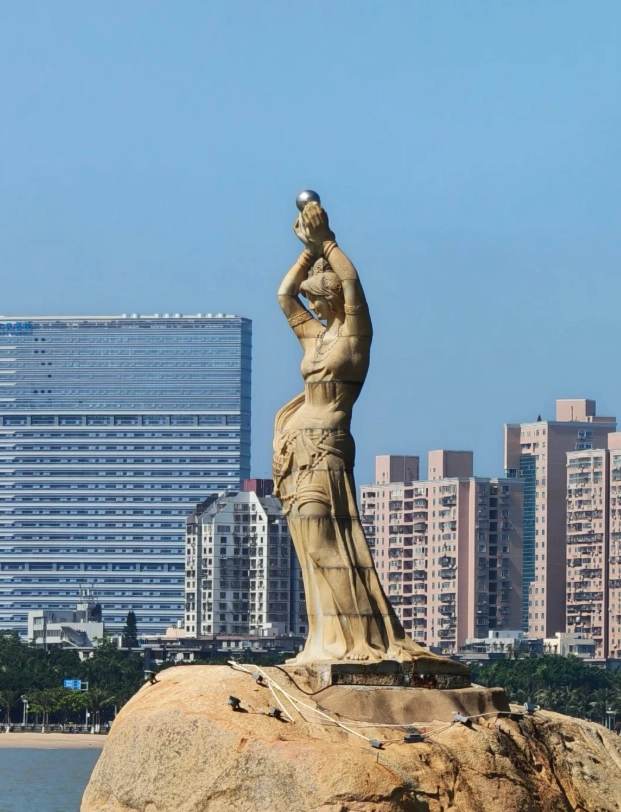
Came for the archaeology, stayed for the photography. The 'best shots' list is actually curated by a local photographer I later found out — and it shows. Each spot has a unique composition, from the zigzagging canyon paths to the restored watchtower with the desert stretching behind. The lighting was perfect at 4 PM in October, soft shadows and warm tones. I even caught a couple of wild foxes near the paleolithic shelter — pure luck but the guide had told me they're often seen there. Super friendly staff at the entrance gave me extra tips for sunset. Don't skip the museum roof terrace, it's not on the main list but the 360° view is killer.
Honestly the most photogenic place I've visited in Ningxia. The 'best shots' markers are clearly posted and easy to find — I followed the recommended route and got magazine-worthy frames at every stop. The human-powered boat ride across the lake gave me a unique low-angle shot of the cliff dwellings that none of my friends had. Late afternoon light makes the sandstone glow golden. Even my non-photographer husband was impressed. Perfect for anyone who loves combining history and nature in a frame. Will definitely return in autumn for the reeds.
Absolutely blew my mind! I'm a hobby photographer and this was hands-down the best archaeological site I've ever shot. The 'Best Shots' guide is spot-on — the elevated boardwalk at sunrise gives you that perfect silhouette of the ancient dwelling pits against the orange sky. The staff even let me set up my tripod near the restricted zone (with permission) to capture the layered dig strata. Every corner screams history. I filled my 64GB card in three hours. Bring your wide-angle and a polarizer — the reflections off the Yellow River tributary are unreal. Five stars, no hesitation!
Decent place for landscape photography if you have a good telephoto lens. The rugged terrain and ancient wall ruins give some dramatic contrast, especially around the Ming Great Wall section. However, the 'best shots' list feels a bit overhyped — several spots are just basic viewpoints you'd find anywhere. The morning fog over the lake was nice, but I've seen better at other sites. Worth an hour or two but don't expect jaw-dropping compositions. Bring water, the walking paths are dusty and steep.
Went there hoping to capture the iconic 'best shots' they advertise, but honestly the golden hour light was gone by the time we reached the main excavation area. The site is huge and the shuttle bus schedule was confusing — we wasted almost an hour waiting. Some of the marked photo spots are behind fences or under construction, so you can't get the angle shown on the brochures. Not a complete disaster, just underwhelming for a photography trip. Would have appreciated clearer signage about construction closures.