 Lei Li
Let's be honest. You've seen the postcards, the Instagram shots, the screensavers. You know the Great Wall is photogenic. But showing up at the wrong section, at the wrong time, with the wrong lens? That's a recipe for disappointment. I've spent over a decade guiding photographers, families, and everyone in between along this ancient wonder. I've seen the frustration when a tour bus unloads right as the perfect light hits. I've also seen the pure joy when someone captures a shot that feels uniquely theirs.
This isn't just another list of photography tips. This is your blueprint for getting the shot you actually want, based on where you should go, when you should be there, and what you need to know that most guides won't tell you.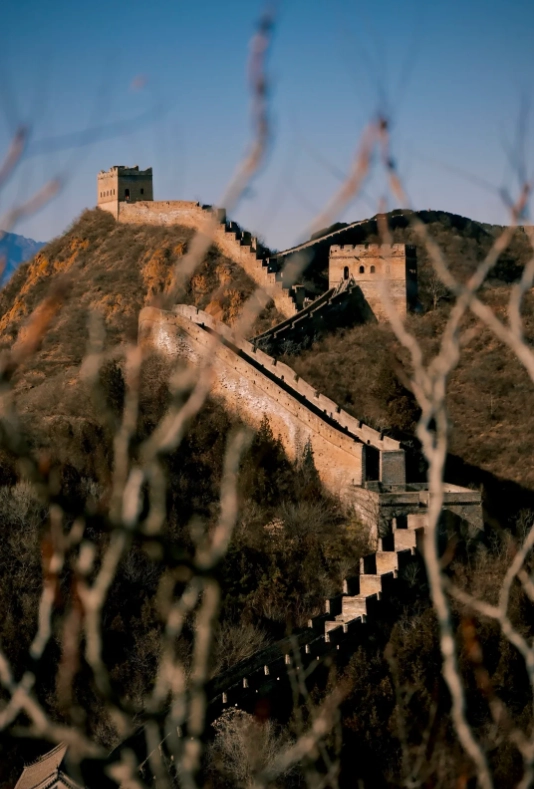
Your Great Wall Photo Shoot Blueprint
Pick Your Section: It's Not All the Same
This is the single most important decision. Most first-timers head straight to Badaling. It's famous, accessible, and crowded like a stadium concert. For photography, that's often a problem. Here’s my breakdown of the top sections for photographers, based on what you're after.
For Epic, Untouched Landscapes: Jinshanling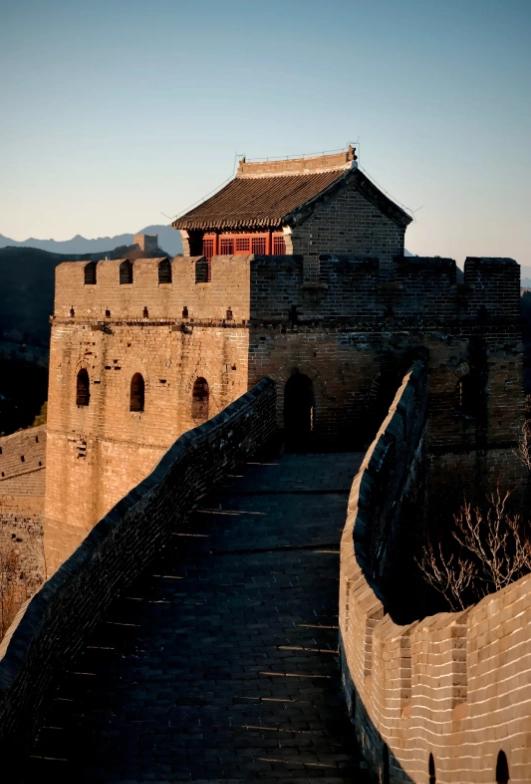
If your dream is the classic, snaking-wall-over-mountains shot with minimal people, Jinshanling is your spot. Located in Hebei province, about a 2.5-hour drive from Beijing, it's a commitment, but the payoff is immense. The wall here is partially restored and partially wild. You get those beautiful, crumbling watchtowers that add so much character.
My go-to move: Enter at the main gate, hike east towards Simatai. The first hour of the hike has the most dramatic, photogenic vistas. You can turn back whenever you want. The light is best in the late afternoon, casting long shadows across the valleys.
For Ease & Classic Beauty: Mutianyu
Mutianyu is my most frequent recommendation for a balance. It's closer than Jinshanling (about 1.5 hours from Beijing), has a cable car up and down (a lifesaver for gear or tired legs), and offers stunning, well-preserved views. It gets busy, but the crowd spreads out more than at Badaling.
The section between Towers 10 and 20 is particularly photogenic. You can get great shots looking back along the wall as it climbs the ridges.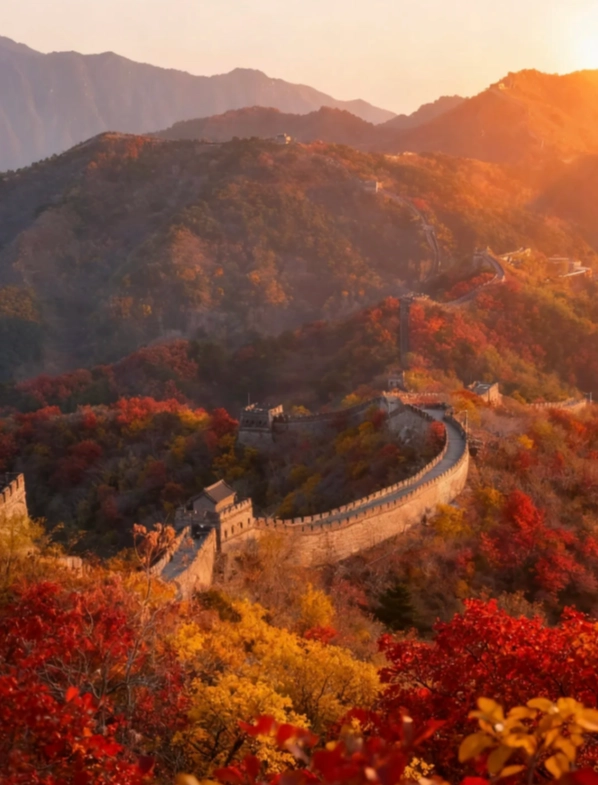
For the Brave & Dramatic: Simatai
Simatai is rugged, steep, and not for the faint of heart. Some parts are so sheer they have handrails and, in sections, you walk on a narrow ridge with drops on both sides. The photography here is unmatched for raw drama, especially at night when it's lit up (the only section with night lighting).
Warning: Check if it's fully open. It sometimes closes sections for maintenance. The steps are incredibly high in places—think climbing a ladder. Not ideal with a heavy tripod bag.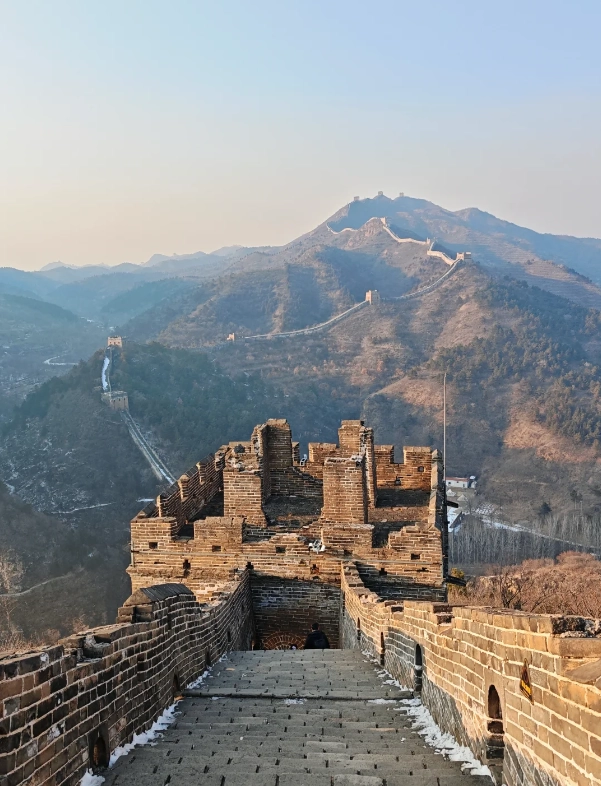
Master the Light & Beat the Crowds
Timing is everything. The difference between a flat, harsh snapshot and a magical photograph is often just an hour.
| Time of Day | What You Get | Best For Section | The Crowd Catch |
|---|---|---|---|
| Sunrise | Golden light, mist in valleys, empty walls, cool temperatures. | Jinshanling, Mutianyu (if you stay nearby). | Requires very early start or overnight stay. Mutianyu cable car doesn't start until 8:30 AM. |
| Early Morning (8:30-10:30 AM) | Clean, soft light. Beats the main tour bus rush which hits around 10:30 AM. | Mutianyu, Badaling (if you must). | Your best bet for a "normal" day trip to still get decent light and manageable crowds. |
| Late Afternoon (3:30 PM onwards) | The golden hour magic. Warm, side-lighting that sculpts the wall's texture. | All sections, especially Jinshanling. | Tour groups are leaving. You have the wall increasingly to yourself. The best light is often after most people have gone. |
| Midday (11 AM - 3 PM) | Harsh shadows, flat light, peak crowds. | Close-up details, interior shots of watchtowers. | This is when I focus on macro shots of bricks, or find shade to rest. Not ideal for grand vistas. |
Let me give you a real example. Last fall, I had a client, a serious amateur photographer. We aimed for Mutianyu for a 3 PM arrival. Most day-trippers were already heading down, tired. We walked against the flow, up to Tower 15. By 4:30 PM, we had a whole stretch of wall to ourselves, bathed in that perfect golden glow. His photos looked like he had the place to himself—because at that moment, he practically did.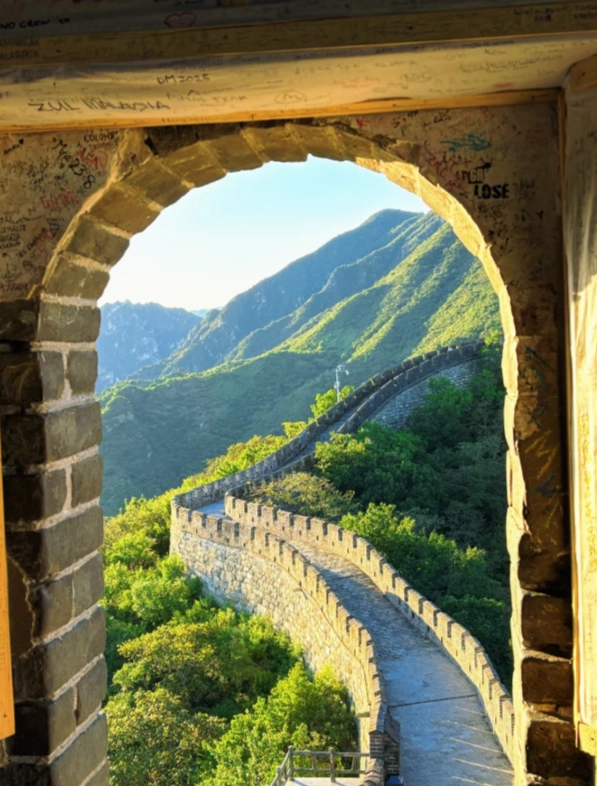
Gear Essentials: What to Actually Bring
You don't need the fanciest camera, but the right tools make a difference. Here’s my pared-down, practical kit.
- A Wide-Angle Lens (16-35mm full-frame equivalent): Non-negotiable. You need it to capture the scale of the wall winding into the distance. A 24mm just won't cut it for the big scenes.
- A Telephoto Zoom (70-200mm or similar): Almost as important. Use it to compress distance, isolate watchtowers, and pick out details on faraway ridges. It's also great for candid portraits of fellow travelers without intruding.
- A Sturdy Tripod: For sunrise, sunset, and any low-light shots. The wind can be strong up there. A flimsy tripod will vibrate. Also, use it for self-portraits or group shots where you want to be in the frame.
- Polarizing Filter: Cuts haze and deepens the blue of the sky, making the wall's stone pop. Incredibly useful on all but the foggiest days.
- Batteries & Memory Cards: Sounds obvious, but you'll shoot more than you think. Bring double what you think you need. There are no camera shops up there.
- What to Leave Behind: Unless you're doing dedicated macro work, leave the heavy macro lens. A standard 50mm prime is less useful than a versatile zoom here.
Composition Secrets Beyond the Obvious
Everyone points their camera at the wall. Here’s how to make your shot stand out.
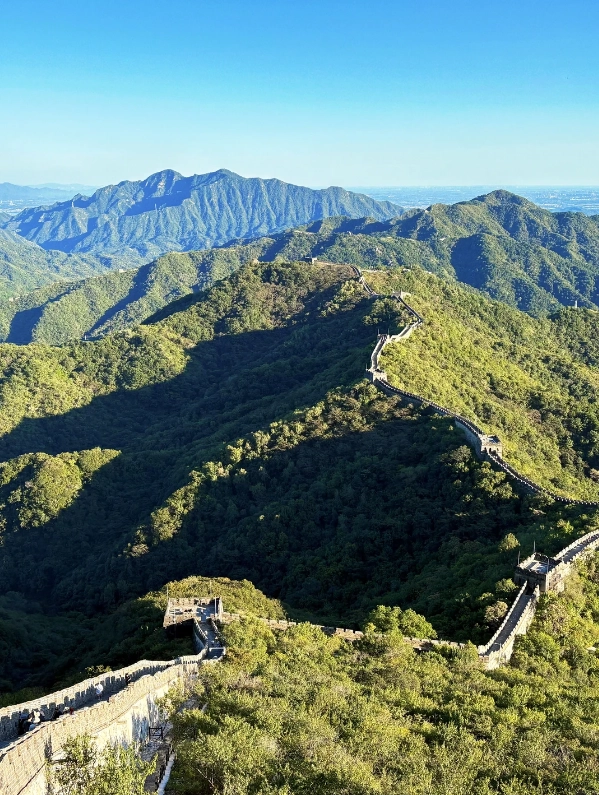
Lead the Eye: Use the wall itself as a leading line. Don't just shoot it head-on. Find a curve or a set of steps that draws the viewer into the frame, towards a watchtower or the horizon.
Frame Within a Frame: Shoot through the window of a watchtower. Use an archway. This adds layers and a sense of discovery to your photo.
Include Human Scale (Carefully): A tiny figure on the vast wall shows its immense scale. Wait for a person wearing a bright color (red, yellow) to enter your scene. Better yet, bring a friend and have them walk ahead of you. I often do this for clients—I'll walk 100 meters ahead and turn around.
Look Down, Not Just Out: The textures are amazing. Shoot the worn steps, the wildflowers growing between bricks, the shadows cast by crenellations.
Break the "Rule of Thirds" Sometimes: For a powerful, symmetrical shot, center the wall as it climbs a peak dead in the middle of your frame. It can create a bold, graphic image.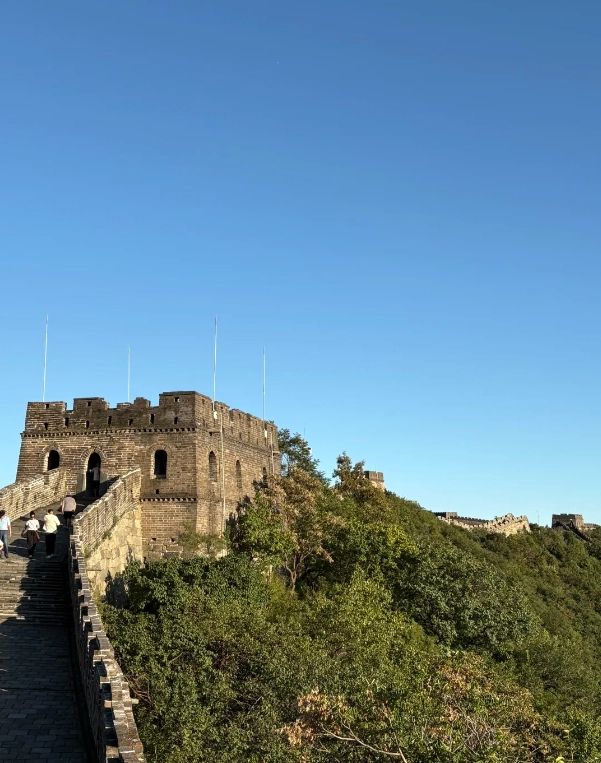
The Nitty-Gritty: Tickets, Transport & Timing
This is where most generic guides fail. You need specifics.
Tickets & Booking
For Mutianyu and Jinshanling, you can usually buy tickets at the gate. No need for complex pre-booking. For Badaling, it's highly recommended to book online in advance, especially during holidays, as they have visitor limits. You can often book through official WeChat channels or sites like Trip.com.
Prices (approx.): Mutianyu: 45 RMB (wall entry). Cable car round-trip is an extra 120-140 RMB. Jinshanling: 65 RMB. Prices are per adult. Children under 1.2m are usually free.
Getting There
For Mutianyu: Easiest: Hire a private car/driver for the day. Cost: 600-800 RMB. It gives you total flexibility on timing, which is crucial for photography. Budget: Take the public bus 916 Express from Dongzhimen to Huairou, then a local taxi (about 50 RMB) to the wall. This takes longer and you're tied to bus schedules. I always recommend the private car for photographers. That extra hour of sleep or ability to stay late is worth the cost.
The 24-Hour Photographer's Itinerary
If you only have one day and want the best shots, here's what I'd do: 7:00 AM: Private car picks you up from your Beijing hotel. 9:00 AM: Arrive at Mutianyu. Take cable car up. 9:30 AM - 12:30 PM: Hike east from Tower 14, capturing the morning light. Use your telephoto for compressed shots. 12:30 PM: Lunch at the cafe near Tower 14 (basic noodles, drinks). 1:30 PM - 4:00 PM: Hike west, exploring different angles. As crowds thin after 3 PM, set up your tripod for wider shots. 4:15 PM: Start the walk down the steps (or take cable car if you're done). 5:30 PM: Car departs for Beijing. 7:30 PM: Back in the city for dinner. This gets you the best light of the day and avoids the absolute peak crowds.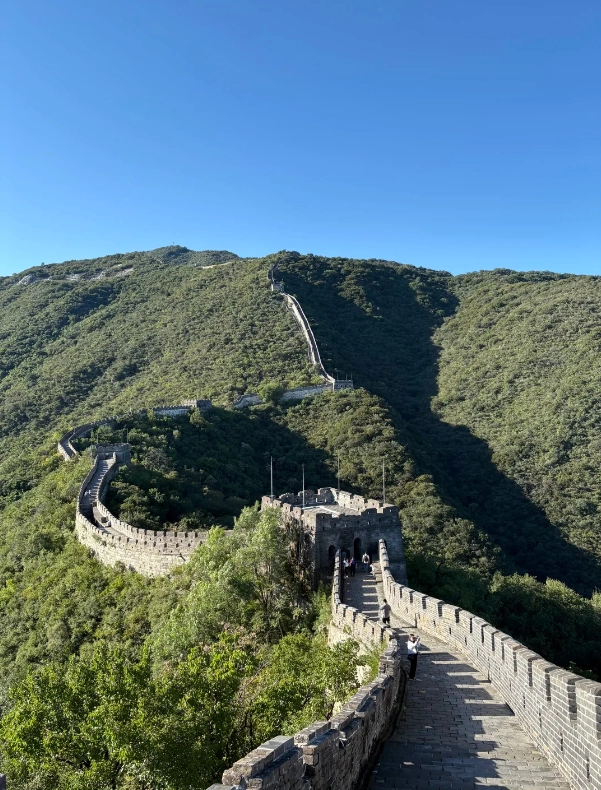
Great Wall Photography FAQ
Remember, the Great Wall isn't just a subject; it's an experience. Listen to the wind in the towers, feel the sun-warmed stone, and then capture that feeling. Plan smart with the sections and times I've given you, pack your wide-angle lens, and be ready to walk. Your perfect shot is waiting, away from the main crowds, just around the next bend.
This article is based on my personal, repeated experience guiding visitors and photographing the Great Wall over the past decade. Details like opening times and transport options are regularly checked for accuracy.
No comments yet.