 Bo Wu
Bo Wu
📸 Quick Look: What You’ll Find
Let me guess—you’ve seen those postcard-perfect shots of the Great Wall snaking over green hills, and you want to capture the same magic. I get it. I’ve been guiding photographers here for over a decade, and I’ve watched people struggle with bad light, crushing crowds, and missed angles. Here’s the truth: Badaling is the most visited section, but with the right know-how, you can still come home with killer shots.
First, forget everything you read about “best spots” without context. The real secret? Timing and approach. I’ll break it all down—where to stand, when to click, and what gear saves your back.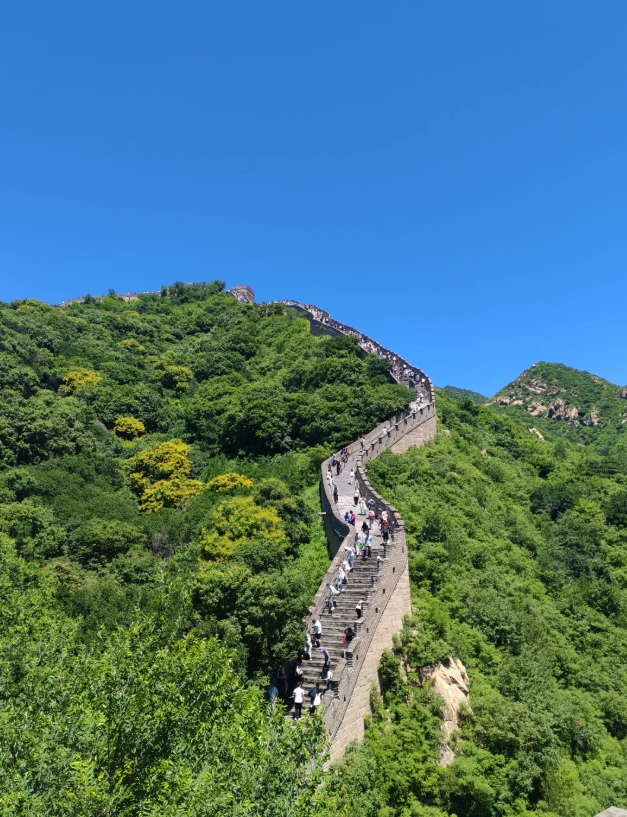
Why Timing Matters More Than the Spot
I’ve seen tourists camp at a tower from noon to 2 PM—then complain their photos look flat and overexposed. No surprise: midday sun kills contrast and washes out the stones. My rule? Shoot within the first hour after sunrise (golden hour starts around 5:30 AM in summer, 7:00 AM in winter) or the last hour before sunset. The warm light grazes the wall, emphasizing texture and depth.
Another reality check: check the weather forecast. Clear skies are nice, but light clouds add drama. Misty mornings? Those can create ethereal layers. Just avoid heavy rain—slippery steps and fogged lenses aren’t worth it.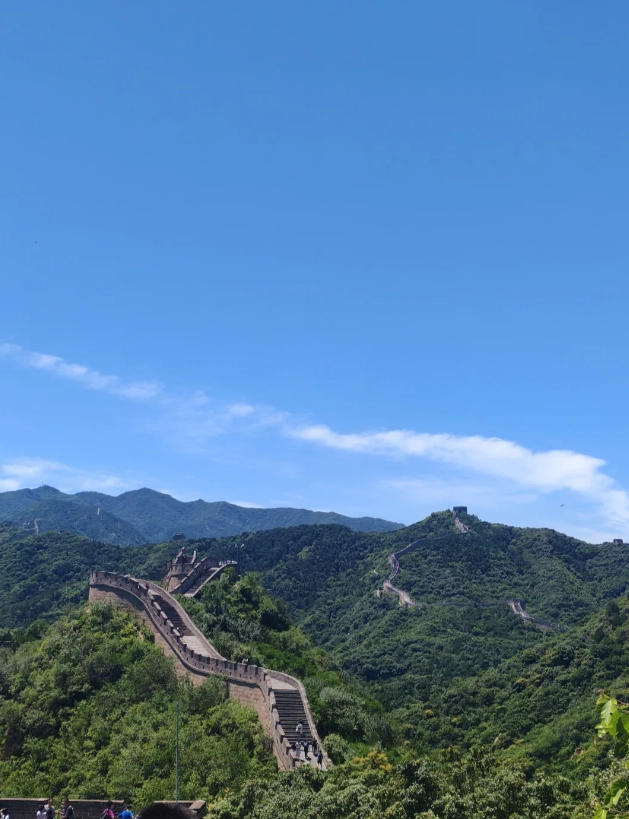
Top Photography Spots on the Badaling Section
Badaling has two main arms: the South Wall (shorter, steeper) and the North Wall (longer, more iconic towers). Each has its own photographic gems. Here are my go-to locations:
1. The South Wall – Tower 4 (S4)
Why I love it: Most tourists rush to the north, leaving the south nearly empty. Tower 4 offers a sweeping view of the wall curving into the distance with minimal people in frame. The sun rises behind the tower in summer, backlighting the battlements.
How to get there: From the entrance, take the left path. It’s about a 15-minute walk up stone steps. Address: Badaling Great Wall Scenic Area, Yanqing District, Beijing. Open daily: 6:30-18:00 (summer), 7:30-17:30 (winter). No separate ticket needed—just the general admission (¥40 adults, ¥20 students, book via WeChat mini-program “八达岭长城”).
2. The North Wall – Tower 8 (N8)
Why I love it: The highest point on the north side (about 1,015 meters). From here you get a classic postcard view: the wall marching over ridges in both directions. Best in late afternoon when the light warms the stones.
Watch out: This is the most crowded spot after 10 AM. Come before 8 AM or after 4 PM (last entry is 5 PM). Use the inclined lift (¥40 one way) if you’re short on time—it drops you near N4, then it’s a 20-minute climb to N8.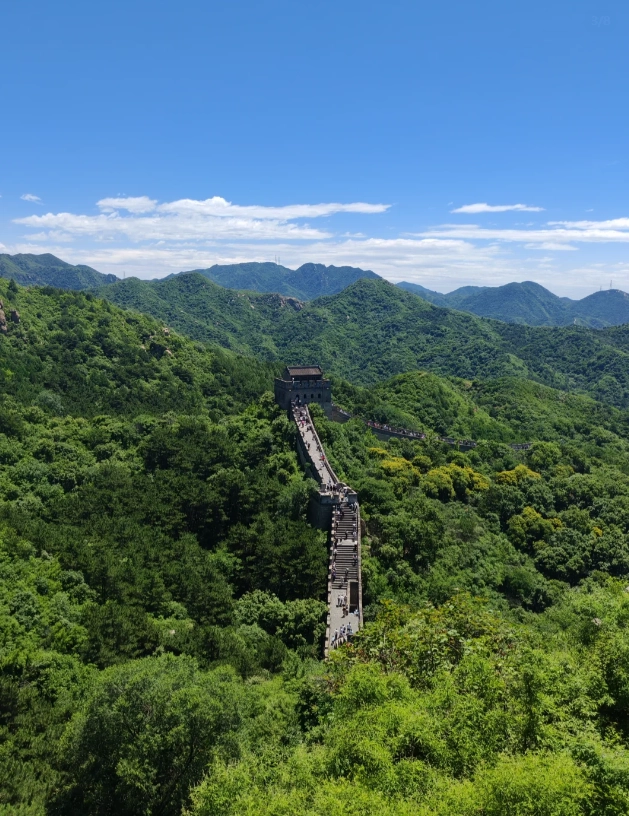
3. The Beacon Tower at the South End (S8)
Why I love it: Restored beacon tower with a wooden roof—great foreground element. Position your lens looking west to include the tower frame and the wall trailing away. It’s a 40-minute hike from S4, but worth it for unique compositions.
4. From the Cable Car
Why I love it: Aerial perspective. The cable car (¥100 one way) runs from the base to near N4. Sit on the left side going up for a view of the north wall; on the right going down. Use a fast shutter speed (1/1000s) to avoid motion blur, and clean your window with a microfiber cloth before shooting—fingerprints ruin photos.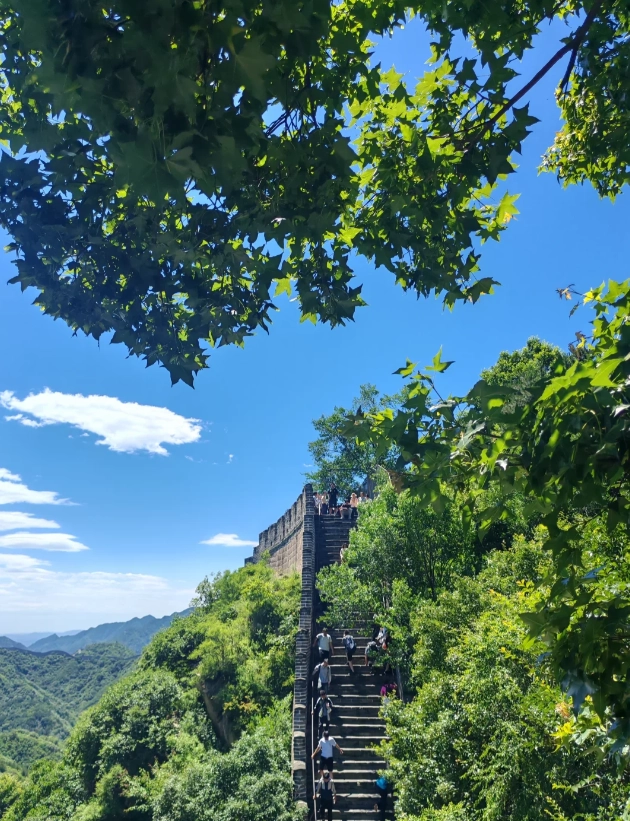
| Spot | Best Time | Crowd Level (peak) | Walk from Entrance | Photo Tip |
|---|---|---|---|---|
| South Wall Tower 4 | Early morning (6:30-8:00) | Low | 15 min | Use a wide lens (16-24mm) to capture the curve |
| North Wall Tower 8 | Late afternoon (16:00-17:30) | High | 35 min | Telephoto (70-200mm) for compressed layers |
| Beacon Tower S8 | Midday for even light | Moderate | 40 min | Include the roof as a frame |
| Cable Car | Any time | Variable | N/A | Shoot through open window if possible |
How to Avoid Crowds for Cleaner Shots
Here’s the ugly truth: Badaling sees up to 70,000 visitors on peak days. If you show up at 10 AM, you’ll be fighting for space. My strategy works every time:
1. Book the earliest entry slot. Tickets have time slots (e.g., 6:30-7:30, 7:30-8:30). Pick the very first one. You’ll have about 90 minutes of relative peace.
2. Skip the cable car line. Everyone takes the cable car. Instead, walk up the south side—steep but less crowded. Or take the inclined lift from the north entrance.
3. Photograph the “reverse” direction. Most people shoot looking toward the north. Turn around and shoot south—fewer people, and the light is often better.
4. Use a small f/stop to blur backgrounds. Even if a few people are behind your subject, a shallow depth of field (f/2.8 or f/4) makes them disappear into bokeh.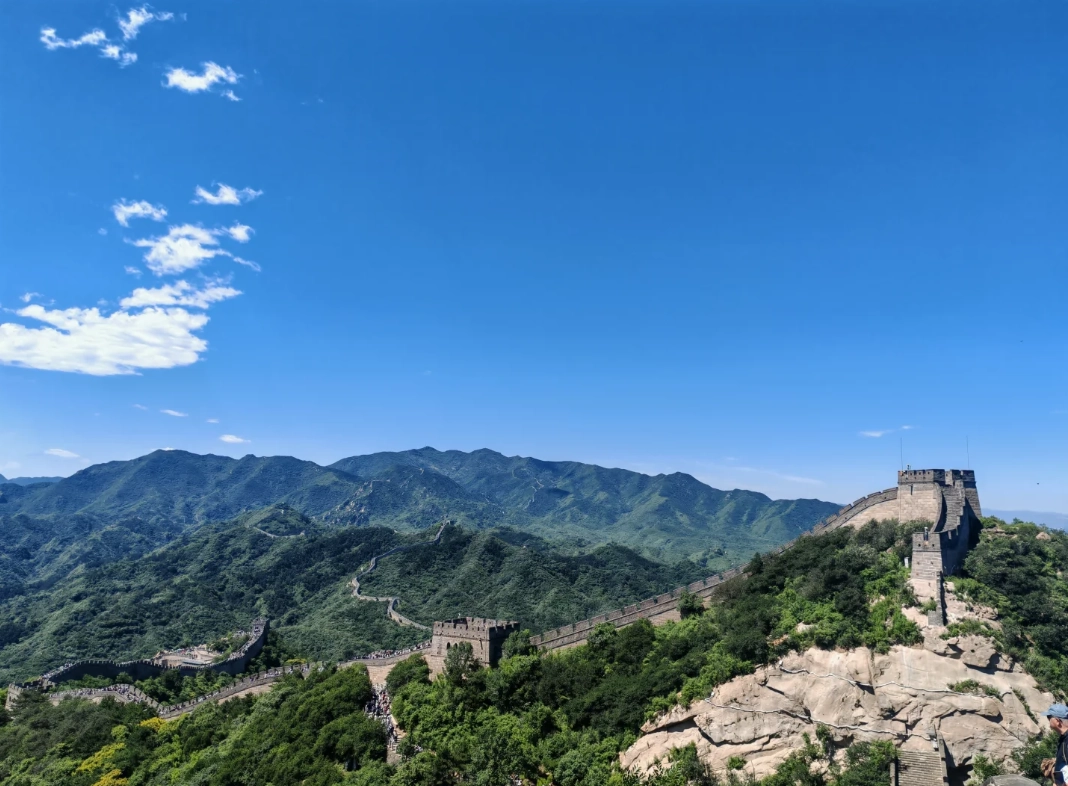
Essential Gear and Settings for Great Wall Photography
You don’t need a pro camera. I’ve seen stunning iPhone shots. But if you’re serious, here’s what I carry:
- Lens: A wide-angle (16-35mm) for landscapes; a telephoto (70-200mm) for isolating towers and compressing distance.
- Polarizing filter: Cuts glare from stone and enhances the blue of the sky. Essential for midday.
- Graduated ND filter: Balances bright sky and darker wall. Gives you more detail in both.
- Comfortable backpack: You’ll be climbing uneven steps—a sling bag is fine, but a proper backpack distributes weight better.
- Water and snacks: There are vendors but they charge ¥15 for a bottle of water. Bring your own.
Camera settings I swear by:
- ISO 100-200 for low noise (or auto-ISO capped at 800).
- Aperture f/8 to f/11 for maximum sharpness across the frame (landscape mode).
- Shutter speed: 1/125s or faster if handheld; use a tripod for long exposures at dawn (1-2 seconds).
- Shoot in RAW—you’ll need the dynamic range for pulling detail from shadows.
No comments yet.