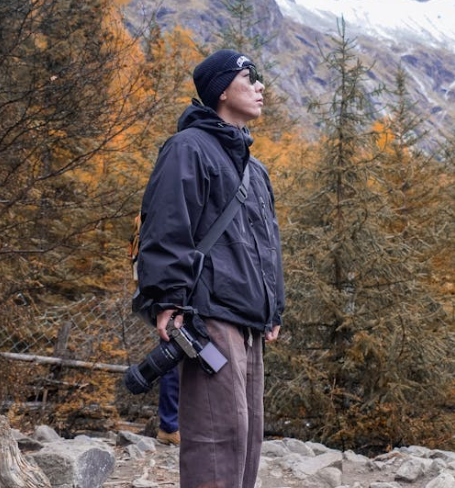
 Gang Zheng
- Why Most Photos Look the Same (and How to Fix It)
- The Best Photography Spots (with GPS Hacks)
- Golden Hour Timing: Sunrise vs Sunset
- Essential Gear and Settings for Geopark Photography
- How to Avoid Crowds and Get Clean Shots
- Practical Info – Tickets, Transport, and Hidden Rules
- FAQ – Photography Spots at Golden Pebble Beach
Why Most Photos of Golden Pebble Beach Look the Same (and How to Fix It)
I’ve lost count of how many times I’ve seen tourists baking in the midday sun, holding up umbrellas, cursing the lack of shade. They all end up with the same shot—harsh shadows, washed-out colors, and a crowd photobombing the famous rock formations. Here is the thing most guides won’t tell you: the magic happens between 4 PM and sunset, or during the first hour after sunrise. I always tell my clients to skip the morning rush and come later. Trust me, your Instagram feed will thank you.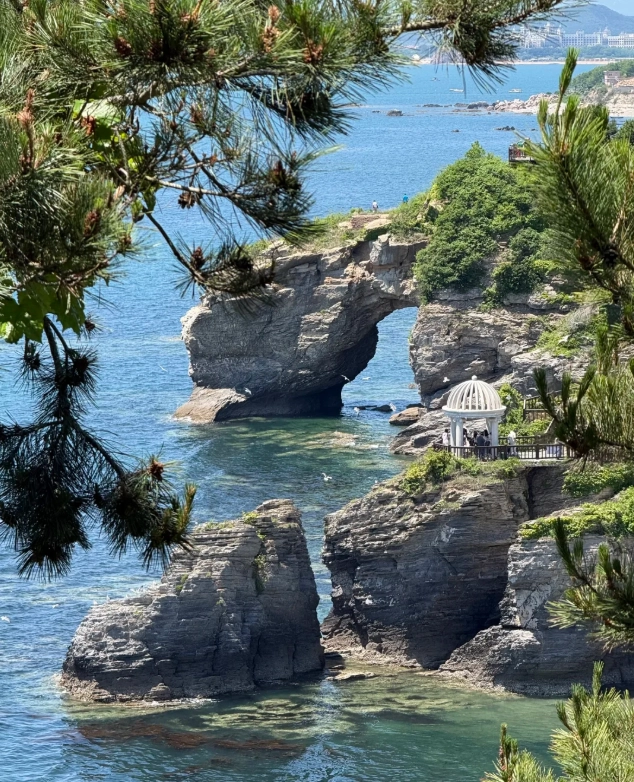
Another mistake? Using a wide lens for every rock. The geopark is full of intricate textures—pebbles, cracks, tidal pools. Get close. Put your phone on ground level. That’s where the real character hides.
The Best Photography Spots at Golden Pebble Beach National Geopark (with GPS Hacks)
Spot 1: The Famous “Dinosaur” Rock Formation
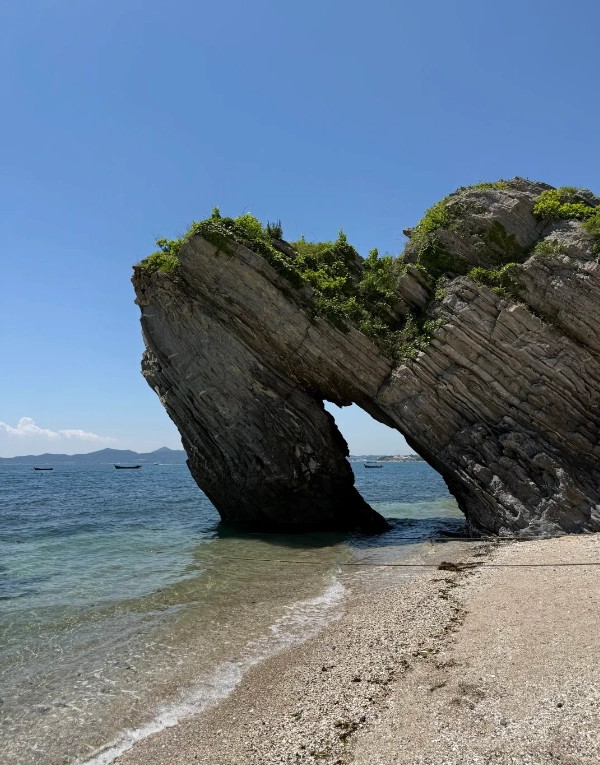
This is the postcard shot everyone wants. But the standard angle from the boardwalk is so boring. Instead, walk down to the beach during low tide. Position yourself so the dinosaur head aligns with the setting sun. You’ll get a silhouette effect that’s pure gold. GPS tip: Search “Dinosaur Rock Golden Pebble Beach” on your phone map—it’s marked. But aim for the rocks about 50 meters southwest of the main viewing platform.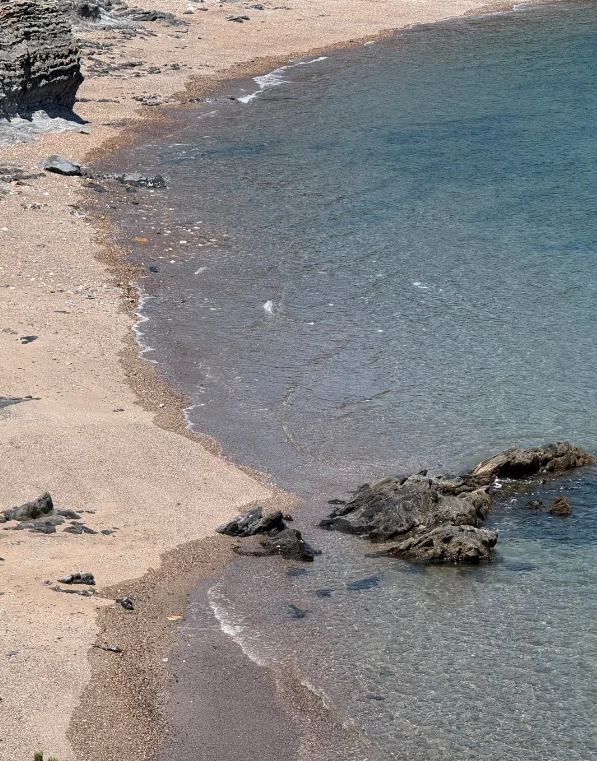
Spot 2: The Quiet Cove Near Entrance 2
Most visitors rush straight to the main area. Here is a secret: enter through the second gate (if you walk from the parking lot, keep going past the big boulder). You’ll find a small cove with layered rock formations that look like ancient ruins. The light here is perfect between 8:30 and 10:30 AM. No tripod needed—just a steady hand and a polarizing filter to cut glare.
Spot 3: Sunset Pier (locals only)
Not really a pier—it’s a narrow strip of flat rocks that extends into the sea. Locals call it “the diving spot.” To get there, follow the coastal path from the main beach for about 15 minutes. You’ll pass a small snack kiosk (buy water there—prices are fair). At sunset, the rocks reflect warm orange tones. I once saw a couple propose here. Bring a wide-angle lens and include the sky in your frame.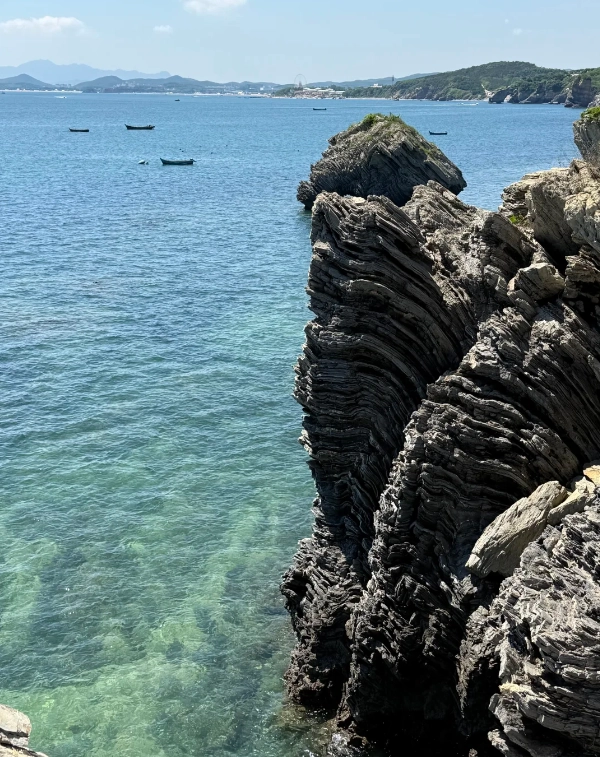
Golden Hour Timing: Sunrise vs Sunset – Which One Works for You?
| Factor | Sunrise (approx. 5:00–6:30 AM) | Sunset (approx. 4:30–6:00 PM) |
|---|---|---|
| Crowds | Very few (but dedicated photographers) | Moderate to heavy on weekends |
| Light quality | Soft, cool tones; low contrast | Warm, dramatic; high contrast shadows |
| Best for | Minimalist landscapes, tidal pool details | Rock silhouettes, golden reflections on water |
| Access | Gates open at 8:30 AM—can’t enter before! (but you can shoot from outside fence) | Gates close at 5:00 PM (winter) or 6:00 PM (summer). Plan to exit by then. |
Essential Gear and Settings for Geopark Photography
You don’t need a pro kit. I’ve seen stunning results from iPhones. But here’s what helps:
- Polarizing filter (or polarizing clip for phone) – cuts reflection on wet rocks and water.
- Wide-angle lens (24mm or wider) – for capturing the scale of rock formations.
- Macro attachment or close-up mode – for pebbles and shell patterns.
- Small tripod or gorillapod – essential for long exposures of flowing water.
Camera settings? Start with ISO 100, aperture f/8–f/11 for deep focus, and shutter speed depending on light. If water is moving, try 1/2 second to blur it slightly. For phones, use the “Pro” mode if available, or download the Lightroom app for manual control.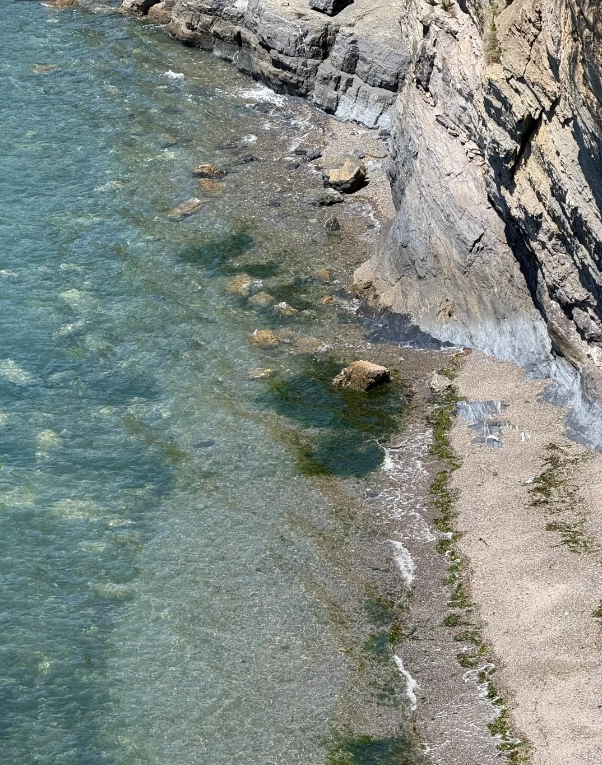
How to Avoid Crowds and Get Clean Shots (Even on Holidays)
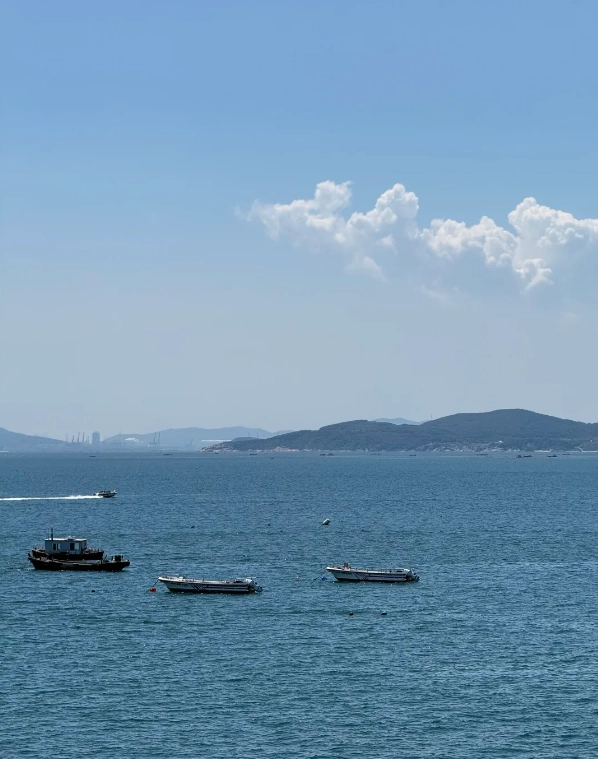
Chinese national holidays (October 1–7, May 1–5) are insane. I’ve seen queues of 200 people for a single rock. Here is my escape plan:
- Arrive at 2:30 PM – most tour groups leave around 3 PM. You get a solid hour before golden hour starts.
- Skip the first two popular observation decks – go directly to the far end of the park (follow the coastal trail east for 10 minutes).
- Use a long exposure to blur people – if you can’t avoid them, set a 1–2 second exposure with a tripod. Moving figures become ghostly and less distracting.
- Climb the small hill near the exit – it offers a higher perspective and gets almost zero foot traffic.
Practical Info – Tickets, Transport, and Hidden Rules
| Item | Details |
|---|---|
| Ticket price (adult) | 70 CNY (approx. $10 USD) |
| Discounts | Children under 1.3m free; students half price (with ID); seniors 60+ half price |
| How to buy | Scan QR code at gate to pay via WeChat/Alipay. International credit cards NOT accepted. Bring cash or ask a local to help. |
| Opening hours | Summer (Apr–Oct) 8:30–17:30; Winter (Nov–Mar) 8:30–16:30. Last entry 1 hour before close. |
| Getting there | Take Metro Line 3 (express) from Dalian station to “Jinshitan” – ride is about 50 minutes, 8 CNY. Then take bus 1 or taxi (15 CNY) to geopark entrance. |
| What to bring | Sunscreen, water (prices inside are 3x), hat, hiking shoes (the rocks can be slippery). No drones allowed. |
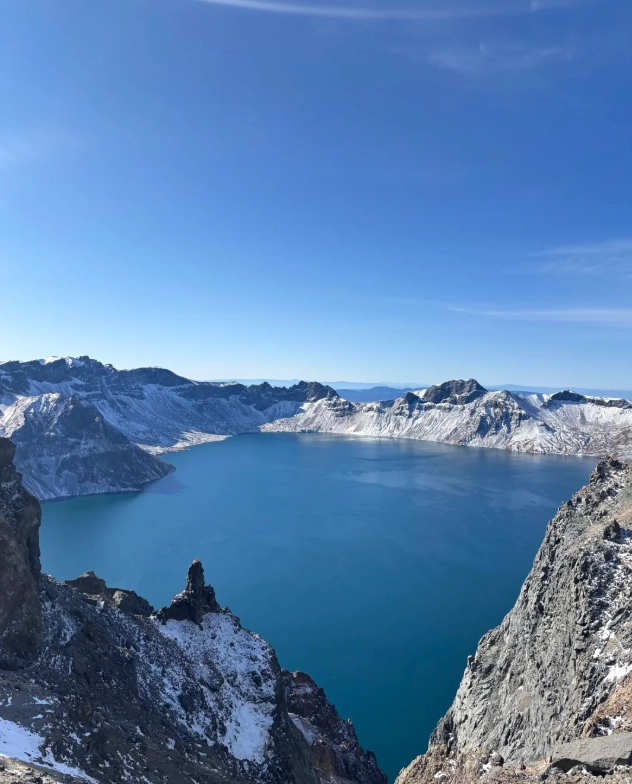
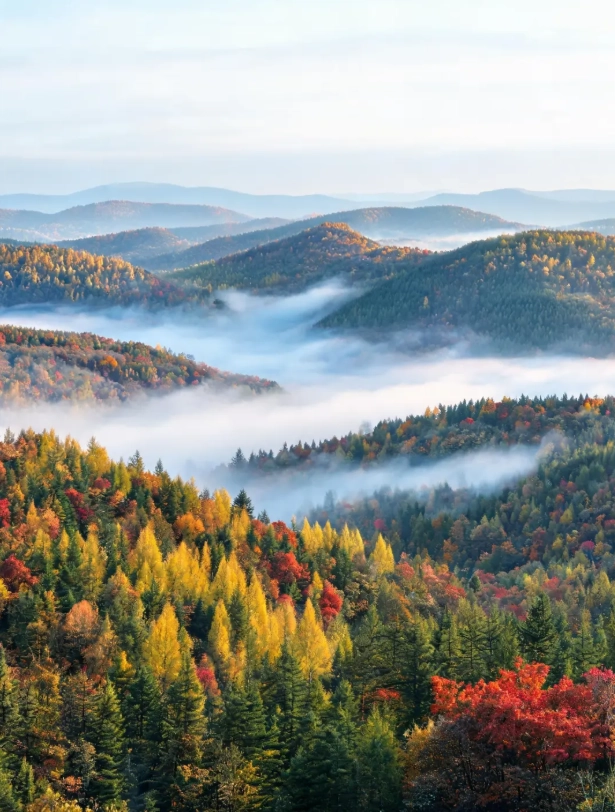

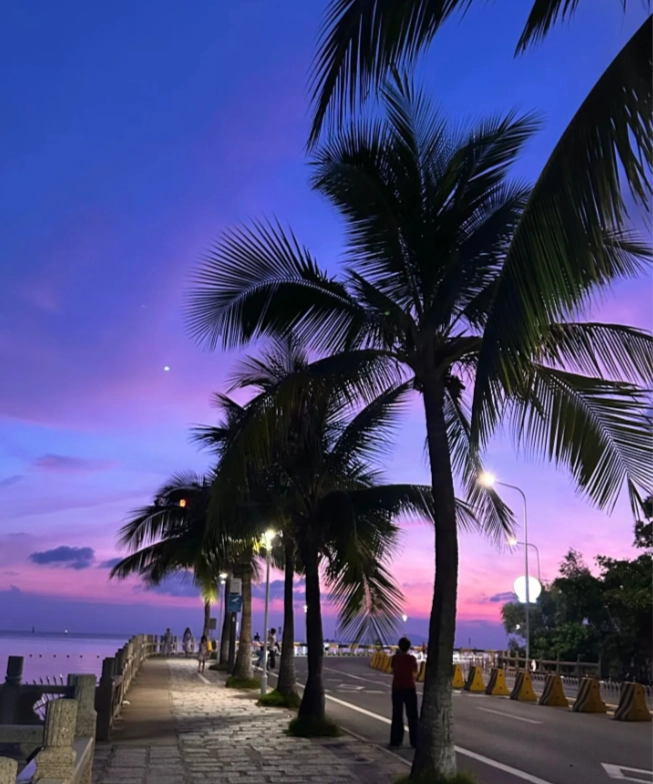
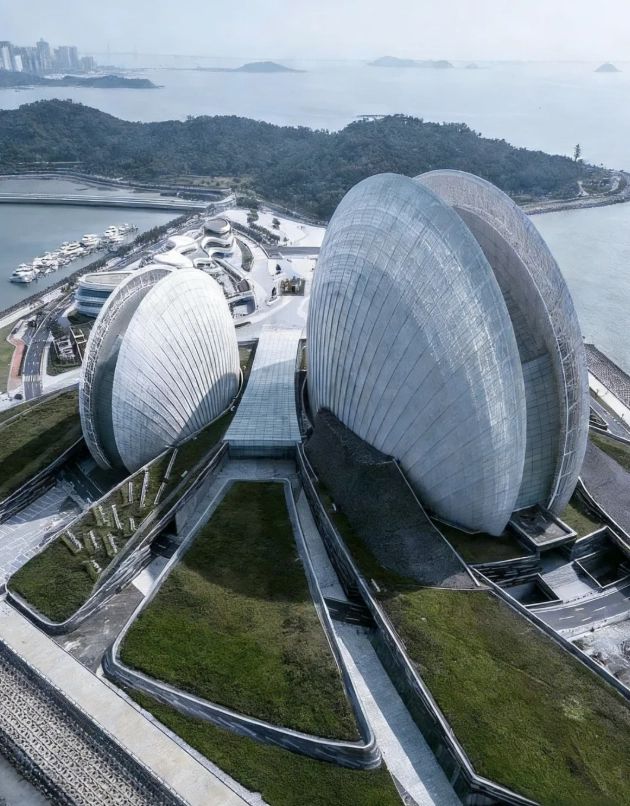
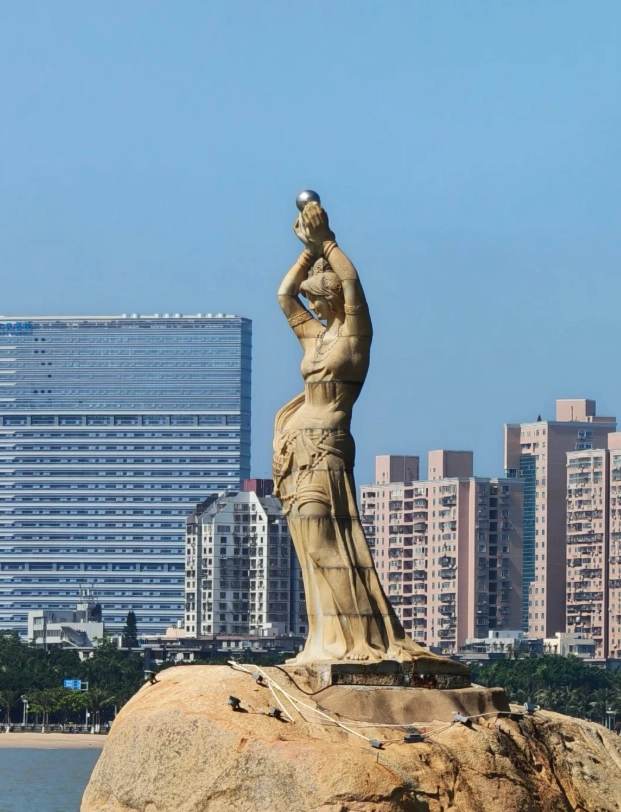
Went on a weekday in late autumn—perfect conditions for photography. The low sun casts long shadows across the beach, making the pebbles look like polished jewels. I followed the advice from a local blog to shoot from the boardwalk stairs during golden hour, and it did not disappoint. The geopark staff were friendly and even pointed out a lesser-known viewpoint behind the museum. If you love natural landscapes and unique geological features, this is a must-visit.
This place is a hidden gem for sunrise shots. The combination of the unique rounded stones, the blue-green water, and the distant cliffs creates textures you just don’t see elsewhere. I spent three hours here and barely scratched the surface. Pro tip: there’s a small path behind the main boardwalk that leads to a secluded cove—nobody else was there, and the light through the sea arch was incredible. Will definitely come back with a wider lens.
Absolutely magical! I arrived at 5:30 AM and had the entire beach to myself. The golden light hitting the rounded pebbles as the sun rose was pure perfection. I found a low-angle spot near the western edge where the rocks catch the reflections off the wet sand—total game-changer. The secret angle that the locals recommended (crouch down and use the largest boulder as a foreground frame) gave me my best shot ever. Highly recommend for any landscape photographer!
Decent place for a casual walk, but not mind-blowing. The pebbles are interesting, but the tide was low when I visited, so the reflections I was hoping for weren’t there. Got a few nice shots of the cliffs, but nothing that would make me rush back. If you’re a serious photographer, check the tide table first—I didn’t, and it cost me. Still, it’s a pleasant afternoon out.
I was really looking forward to capturing the famous golden pebbles at sunrise, but the weather didn’t cooperate—heavy fog rolled in and stayed until noon. The park itself is well-maintained, but the so-called ‘secret angles’ that are hyped online are just basic viewpoints with no real unique perspective. For a photography spot, it felt overhyped and underwhelming. Maybe on a clear day it’s better, but I left disappointed.